
The Best Way to Cook Green Beans
A brief blanch followed by a quick sauté gives green beans a bright color and tender-crisp bite. The two stages are useful when you want to prepare part of dinner ahead, then finish the beans just before serving. Drying after blanching keeps the skillet from filling with water.
Why this method works
Blanching gives the beans a head start, while the skillet finish adds flavor and lets you control the final texture. Cooling after blanching slows continued cooking. Drying is the bridge between the water-based first stage and the oil-based finish.
Ingredients and equipment
The quantities below are a practical starting batch. Adjust seasoning to taste and keep the same preparation method when scaling.
- 1 pound fresh green beans
- 1 tablespoon olive oil or butter
- 2 garlic cloves, minced
- Salt for blanching and seasoning
- ¼ teaspoon black pepper
- Optional: lemon juice and 2 tablespoons toasted sliced almonds
Equipment: Pot, colander, skillet, clean towel, and tongs.
How to make it, step by step
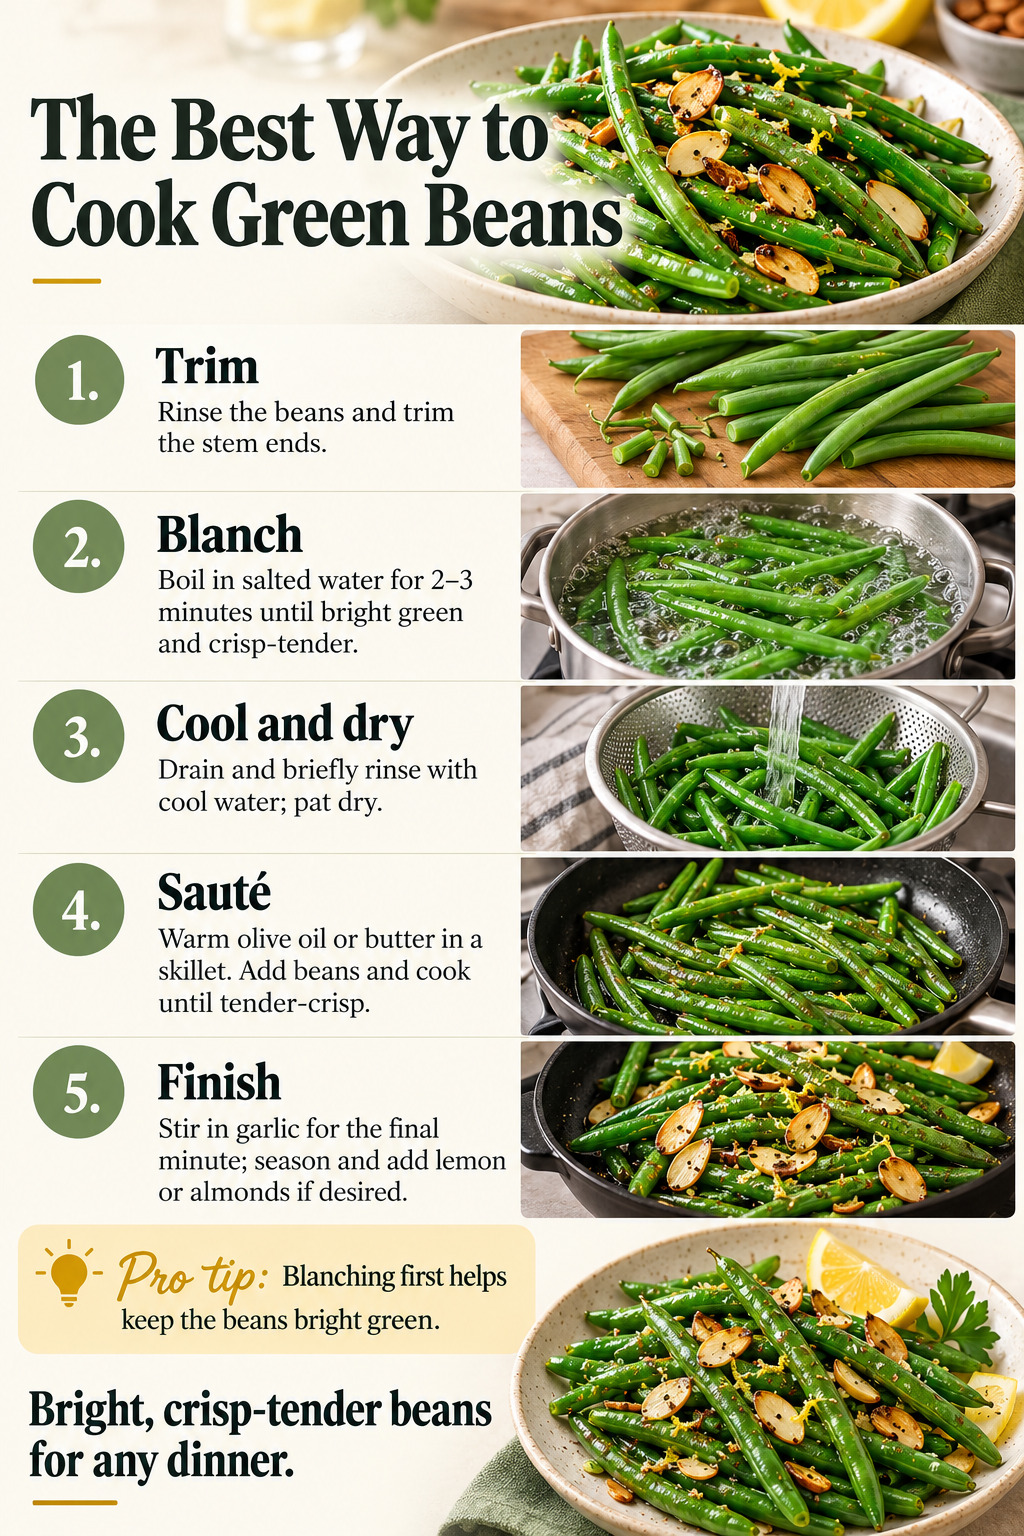
1. Trim
Rinse the beans and remove the stem ends. Trim damaged tips if needed. Leave whole or cut into shorter pieces for easier eating. Pick beans of similar thickness when possible and discard any that are spoiled or slimy.
2. Blanch
Bring a pot of salted water to a boil. Add the beans and cook about 2–3 minutes until bright green and crisp-tender. Check a bean rather than relying only on the timer; very thick beans may need more time. This first stage does not need to make them completely soft.
3. Cool and dry
Drain and briefly rinse with cool water, or use an ice-water bath if preparing ahead. Drain again and pat dry. If holding for later, refrigerate promptly. Water left on the beans cools the skillet and splatters when it meets hot fat.
4. Sauté
Warm oil or butter in a skillet over medium heat. Add the dried beans and toss until hot and tender-crisp, usually a few minutes. Avoid overfilling the pan. You can increase the heat slightly for light blistering, watching the beans closely.
5. Finish
Stir in minced garlic for the final minute, just until fragrant. Season with salt and pepper and add lemon or toasted almonds if desired. Serve promptly. Garlic belongs near the end so it does not burn during the entire sauté.
Common mistakes and how to fix them
The beans are mushy
They blanched or sautéed too long. Check sooner next time, keeping the first stage slightly firmer than the final texture you want.
The garlic is bitter
It burned. Add it during the last minute and reduce the heat if the pan is very hot.
The skillet has a puddle
The beans were not drained and dried enough. Pat them dry after cooling and work in a roomy pan.
Flavor variations and substitutions
Use lemon zest and parsley, butter and almonds, or a little red pepper. Skip nuts for a nut-free side and use olive oil for a dairy-free finish. A few toasted breadcrumbs add texture if wheat is suitable for your meal.
What to serve with it
Pair with roast chicken, salmon, pork chops, or pot roast. The beans also work beside mashed potatoes when you want a crisp contrast. Add lemon just before serving rather than soaking them far in advance.
Storage and reheating
Divide leftovers into shallow containers and refrigerate promptly, within 2 hours of cooking (within 1 hour above 90°F). Keep the refrigerator at 40°F or below and use cooked leftovers within 3–4 days. Freeze portions if you need longer storage. Reheat leftovers to 165°F; warm in a skillet with a small amount of liquid or oil, avoiding a long hold that softens the beans.
Frequently asked questions
Can I blanch ahead?
Yes. Cool, drain, and refrigerate promptly, then dry and sauté at serving time.
Can I use frozen beans?
Yes, but follow package directions and expect a different texture. Drain well before a skillet finish.
Do I need an ice bath?
A brief cool rinse works for an immediate finish. An ice bath is useful when you want to stop cooking and hold the beans for later.
Kitchen reminder: Stir in minced garlic for the final minute, just until fragrant.
Food-safety reference: USDA food handling, cooking, and leftover guidance.


