
The Best Way to Cook Shrimp on the Stove
Shrimp are useful when dinner needs to be quick, but they can go from tender to rubbery in a short time. Start with thawed, dry shrimp, use a hot skillet, and keep the layer uncrowded. Garlic, lemon, and parsley make a simple finish without hiding the seafood under a heavy sauce.
Why this method works
Dry shrimp brown more readily than wet shrimp. Similar sizes make it easier to finish a batch together. Because small shrimp cook rapidly, having the garnish and serving dishes ready before you begin helps avoid leaving them in the hot pan too long.
Ingredients and equipment
The quantities below are a practical starting batch. Adjust seasoning to taste and keep the same preparation method when scaling.
- 1 pound peeled, deveined shrimp, preferably similar in size
- 1 tablespoon olive oil
- ½ teaspoon fine salt, or to taste
- ¼ teaspoon black pepper
- 2 minced garlic cloves, optional
- 1 lemon and 1 tablespoon chopped parsley
Equipment: Large skillet, paper towels, tongs or spatula, and a food thermometer suitable for small pieces.
How to make it, step by step
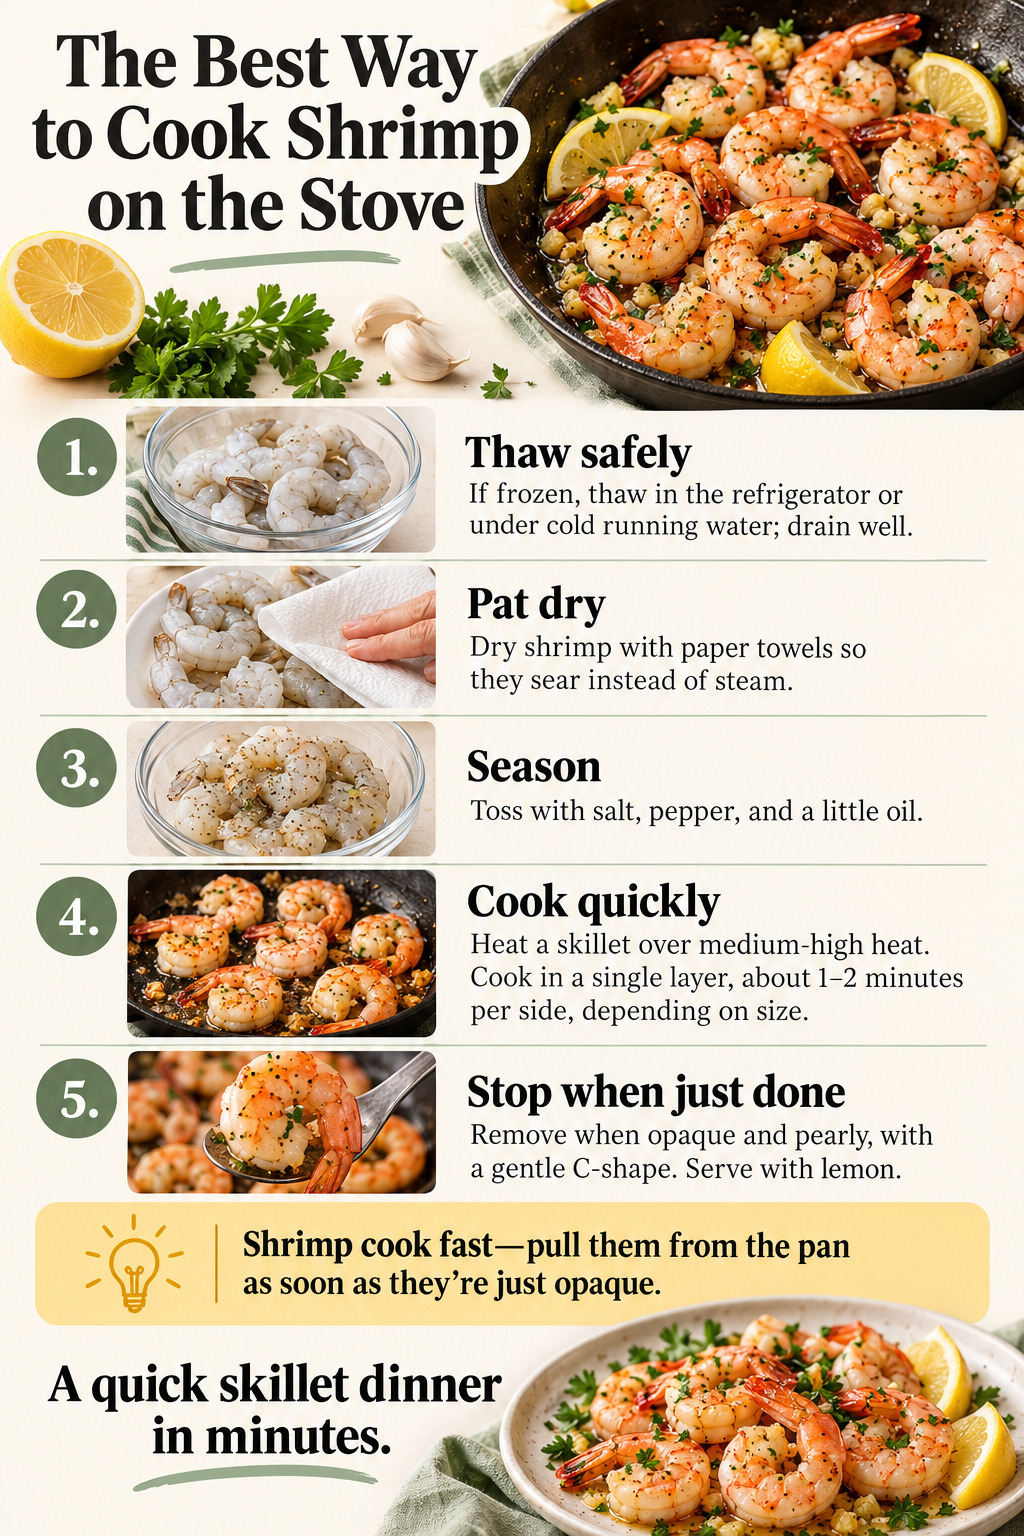
1. Thaw safely
Thaw frozen shrimp in the refrigerator. For a quicker method, keep them in a sealed bag in cold water and change the water regularly, then cook promptly. Do not thaw on the counter or in warm water. Remove shells if needed and check that the shrimp are deveined.
2. Pat dry
Drain well and blot with paper towels. Water clinging to the surface cools the pan and encourages steaming. Arrange the shrimp so you can add them quickly rather than searching through a bowl while the first pieces cook.
3. Season
Toss with salt, pepper, and a little oil. Keep additional seasonings light for the first batch. If using minced garlic, reserve it for the end of cooking so it does not burn while the pan is hot.
4. Cook quickly
Heat the skillet over medium-high heat and place shrimp in one layer. Cook about 1–2 minutes per side, depending on size. Turn when the underside changes color and begins to sear. Work in batches if necessary and lower the heat if the pan starts smoking.
5. Stop when just done
The flesh should be firm, pearly, and opaque; a gentle C-shape is a useful quality cue, not proof of safety by itself. Where practical, check 145°F (63°C) in a thick piece. Add garlic for the final brief cooking period, then remove promptly and finish with lemon and parsley.
Common mistakes and how to fix them
The shrimp are rubbery
They likely cooked too long. Remove each batch promptly when done and check earlier next time. A sauce can add moisture but will not reverse an overcooked texture.
Liquid collects in the pan
The shrimp were wet or the pan crowded. Drain carefully and use a larger skillet or several batches.
The garlic becomes bitter
Minced garlic burns quickly over high heat. Add it near the end or use garlic powder as the initial seasoning.
Flavor variations and substitutions
Try paprika and lemon, a small amount of chili flakes, or parsley and butter after reducing the heat. For a dairy-free finish, use olive oil. Check packaged seafood seasonings and sauces if you need to avoid gluten.
What to serve with it
Serve with rice, roasted broccoli, or a simple pasta. Shrimp also work in tacos with crunchy slaw or over a salad. Have the side dishes ready first so the seafood can go straight from the pan to the table.
Storage and reheating
Divide leftovers into shallow containers and refrigerate promptly, within 2 hours of cooking (within 1 hour above 90°F). Keep the refrigerator at 40°F or below and use cooked leftovers within 3–4 days. Freeze portions if you need longer storage. Reheat leftovers to 165°F; heat gently with a little liquid and stop once the required reheating temperature is reached; repeated heating toughens shrimp.
Frequently asked questions
Can I use cooked frozen shrimp?
Yes, but they need reheating rather than the raw-shrimp cooking method. Thaw safely and avoid cooking them for the full raw timing.
Do shrimp have to curl tightly to be done?
No. A very tight curl often accompanies overcooking. Use opaque, firm flesh and a temperature check where practical.
Should I leave the tails on?
That is a serving choice. Removing them makes bowls and tacos easier to eat; tails can stay on for a plated presentation.
Kitchen reminder: The flesh should be firm, pearly, and opaque; a gentle C-shape is a useful quality cue, not proof of safety by itself.
Food-safety reference: USDA food handling, cooking, and leftover guidance. See also the FDA guide for seafood and eggs.


