
The Best Way to Make Crispy Brussels Sprouts
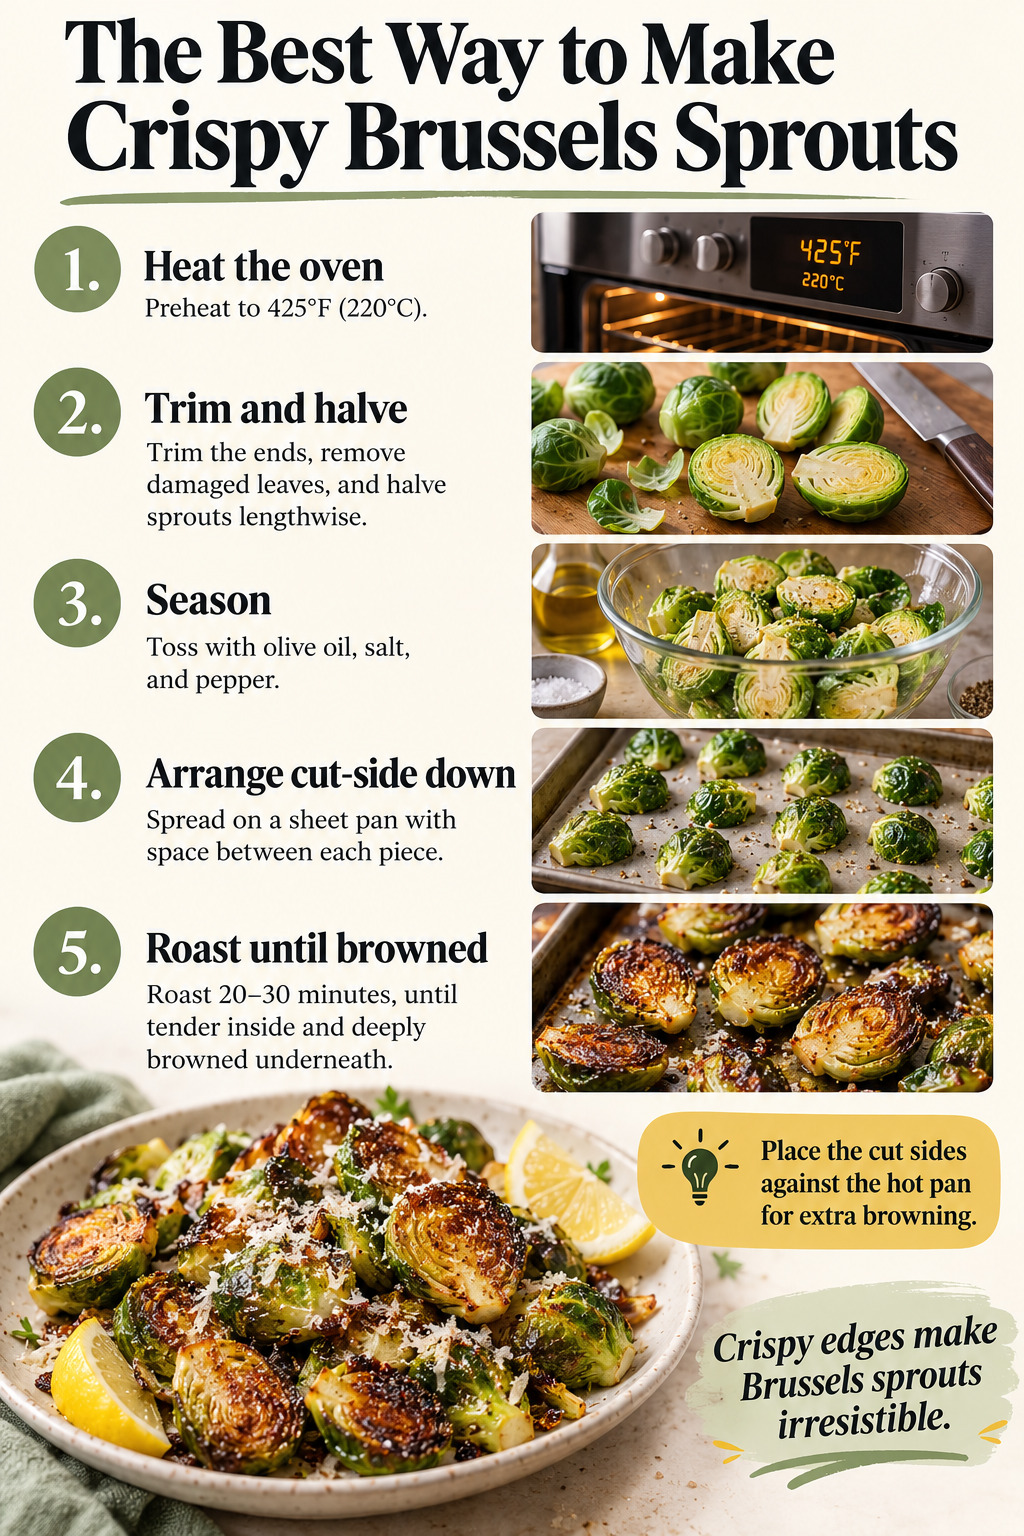
Brussels sprouts roast best when their cut faces have good contact with the pan. Halve them, dry them, coat lightly with oil, and put them cut-side down with space between pieces. You get tender centers and browned edges without needing a complicated glaze.
Why this method works
The flat cut face provides a broad area for contact browning. Space between sprouts lets moisture escape rather than collect around a pile. Similar-size pieces keep the largest centers from staying firm after the smallest leaves darken.
Ingredients and equipment
The quantities below are a practical starting batch. Adjust seasoning to taste and keep the same preparation method when scaling.
- 1½ pounds Brussels sprouts
- 2 tablespoons olive oil
- ½ teaspoon fine salt, or to taste
- ¼ teaspoon black pepper
- Optional: lemon wedges and grated Parmesan
Equipment: Knife, cutting board, clean towel, rimmed sheet pan, and spatula.
How to make it, step by step
1. Heat the oven
Preheat to 425°F (220°C). Choose a pan large enough for an uncrowded layer. If you are doubling the batch, use two pans and allow air to circulate around both. Parchment is optional when it is rated for the oven temperature.
2. Trim and halve
Trim the dry stem ends and remove damaged leaves. Halve lengthwise through the stem so each half holds together. Quarter unusually large sprouts. Rinse and dry well, including the spaces between leaves.
3. Season
Toss with olive oil, salt, and pepper. Coat the cut surfaces and leaves lightly without leaving a pool of oil. Loose leaves can roast alongside but may brown sooner; remove very small scraps if you do not want to monitor them separately.
4. Arrange cut-side down
Spread on the pan with flat faces against the surface and space between each piece. Avoid piling them in the middle. Once arranged, leave them in place long enough for the undersides to brown.
5. Roast until browned
Roast about 20–30 minutes, checking according to size. The centers should be tender and the undersides deeply browned. Remove crisp loose leaves earlier if necessary. Finish with lemon or Parmesan after roasting and serve while the edges retain some crispness.
Common mistakes and how to fix them
The sprouts are pale
They may be crowded or wet. Dry thoroughly and use a larger pan next time.
The leaves burn before the centers soften
Remove small loose leaves earlier and cut large sprouts into quarters. Check the oven heat if every tray scorches.
They soften while waiting
Avoid covering tightly. Serve soon, and add wet sauces at the table rather than soaking the whole batch.
Flavor variations and substitutions
Add lemon zest, garlic powder, a little smoked paprika, or grated Parmesan at the finish. A small drizzle of balsamic vinegar after roasting provides tang. Sweet glazes can burn, so add them late and watch carefully.
What to serve with it
Pair with turkey breast, pork chops, or pot roast. They also work in a warm rice bowl with chicken. A lemon wedge lets diners brighten the rich browned flavor to taste.
Storage and reheating
Divide leftovers into shallow containers and refrigerate promptly, within 2 hours of cooking (within 1 hour above 90°F). Keep the refrigerator at 40°F or below and use cooked leftovers within 3–4 days. Freeze portions if you need longer storage. Reheat leftovers to 165°F; use the oven or a skillet for a firmer surface; microwaving is convenient but softens crisp leaves.
Frequently asked questions
Can I use frozen sprouts?
Yes, but thawing and moisture affect the texture. Follow package guidance and expect a softer result than fresh halves.
Do I need to turn them?
Not necessarily. Leaving the cut side against the pan builds browning. Turn if your oven colors unevenly.
Can I prepare them ahead?
Trim and halve ahead, then refrigerate. Dry and season before roasting rather than leaving them in a wet marinade.
Kitchen reminder: Roast about 20–30 minutes, checking according to size.
Food-safety reference: USDA food handling, cooking, and leftover guidance.


