
The Best Way to Cook Juicy Chicken Breast
Chicken breast makes an easy weeknight dinner, but its lean meat leaves little room for guesswork. The most dependable skillet approach is to even out the thickness, season the surface, build a golden crust, and check the center with a thermometer. This guide walks through each part so you can serve tender slices with vegetables, rice, or a simple salad.
Why this method works
An evenly thick breast cooks more uniformly than one with a thick rounded end and a thin tail. A dry surface encourages browning, while a thermometer tells you when the middle is done. Resting gives you a short pause before slicing without relying on color or a fixed cooking time to determine safety.
Ingredients and equipment
The quantities below are a practical starting batch. Adjust seasoning to taste and keep the same preparation method when scaling.
- 2 boneless, skinless chicken breasts, about 6–8 ounces each
- 1 tablespoon olive oil
- ½ teaspoon fine salt, or to taste
- ¼ teaspoon black pepper
- ½ teaspoon garlic powder
- ½ teaspoon paprika
- Optional: lemon wedges and chopped parsley
Equipment: Heavy skillet, tongs, paper towels, meat mallet or rolling pin, and an instant-read thermometer.
How to make it, step by step
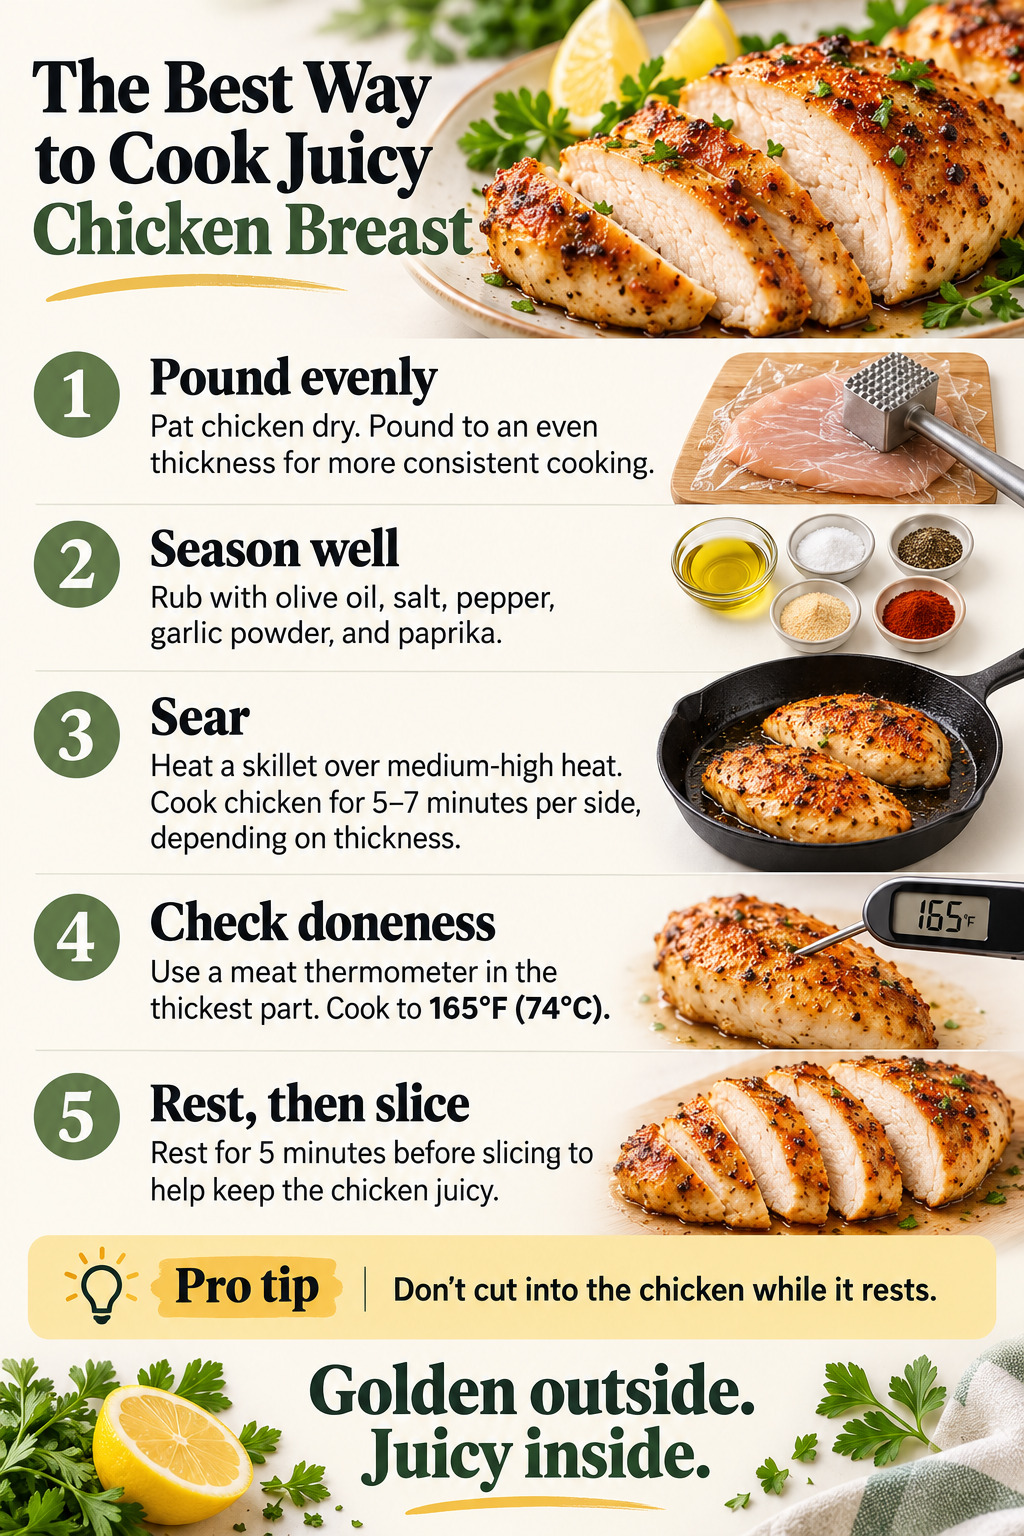
1. Pound evenly
Pat the chicken dry; do not rinse raw poultry. Place each breast between sheets of plastic wrap or in a sturdy food bag. Pound the thick end gently until the breast is about ½–¾ inch thick throughout. The goal is a uniform piece, not a paper-thin cutlet. Wash your hands and clean the preparation surface afterward.
2. Season well
Rub the chicken with olive oil, then sprinkle both sides with salt, pepper, garlic powder, and paprika. Spread the seasoning evenly rather than leaving a thick patch in one place. If preparing ahead, keep the seasoned chicken covered in the refrigerator until you are ready to cook.
3. Sear in a hot skillet
Heat a heavy skillet over medium-high heat. Add the chicken and leave it undisturbed long enough to form a golden crust. Cook roughly 5–7 minutes per side for breasts of the thickness above, adjusting the heat if spices begin to scorch. Timing is only a starting point; smaller cutlets may finish earlier.
4. Check the thickest part
Insert the thermometer into the thickest section, away from the skillet. Cook until the center reaches 165°F (74°C). If the outside is browned but the center is still below that temperature, reduce the heat and continue cooking gently. Check each breast separately rather than assuming both are done at the same time.
5. Rest, then slice
Move the cooked chicken to a clean plate and rest for 5 minutes before cutting. Slice across the grain into strips or leave the breasts whole. Do not cut into the chicken while it rests; wait until you are ready to serve.
Common mistakes and how to fix them
The outside burns before the middle cooks
The breast may be too thick or the skillet too hot. Lower the heat once the crust forms. Next time, take a little more care with pounding and use a heavy pan that distributes heat evenly.
The chicken sticks when you try to flip it
Give the crust another moment to form, then ease a thin spatula underneath if needed. Avoid scraping and turning repeatedly; that can tear the surface.
The slices seem dry
Start checking the temperature earlier on your next batch. Repeatedly cooking beyond the safe endpoint dries lean breast meat. For this batch, serve with a spoonful of warm broth or a simple pan sauce.
Flavor variations and substitutions
Try dried oregano and lemon zest for a Mediterranean flavor, or cumin and chili powder for tacos. Keep the seasoning layer light enough that it will not burn. Garlic butter can be added after reducing the heat; fresh minced garlic scorches quickly in a very hot skillet.
What to serve with it
Serve with roasted broccoli and rice, tuck the slices into wraps, or use them over greens with a lemon dressing. Keep dressing separate when packing lunch so the salad stays fresh. Gluten-free wraps or plain rice work well when you want to avoid wheat.
Storage and reheating
Divide leftovers into shallow containers and refrigerate promptly, within 2 hours of cooking (within 1 hour above 90°F). Keep the refrigerator at 40°F or below and use cooked leftovers within 3–4 days. Freeze portions if you need longer storage. Reheat leftovers to 165°F; warm chicken in a covered skillet with a splash of broth, checking the center rather than heating until the edges become hard.
Frequently asked questions
Can I cook chicken breast without pounding it?
Yes, but thick breasts take longer and cook less evenly. You can butterfly them into thinner pieces instead. Keep the thermometer check as your final guide.
Is pink or white color enough to judge doneness?
No. Check for 165°F in the thickest part with a food thermometer. Lighting and preparation can affect the appearance of cooked poultry.
Can I double the recipe?
Yes. Cook in batches if necessary so the breasts fit without overlapping. A crowded pan makes browning more difficult and changes the cooking time.
Kitchen reminder: Move the cooked chicken to a clean plate and rest for 5 minutes before cutting.
Food-safety reference: USDA food handling, cooking, and leftover guidance.


