
The Best Way to Cook Crispy Bacon
The Best Way to Cook Crispy Bacon is easier when you focus on a few details that actually change the result: even preparation, controlled heat, and a clear finishing cue. This practical method follows five straightforward steps and explains why each one matters, so you can get a more reliable result at home.
Why this method works
A cool-pan start warms the bacon gradually and renders fat before the lean portions scorch. Medium-low heat gives you control over the final crispness.
Ingredients and equipment
Use the following as a practical starting batch. Adjust seasoning to taste and scale the quantities to fit your pan without crowding.
- 8–12 bacon strips
Equipment: A sharp knife, cutting board, measuring tools, and the pan or baking sheet named in the directions.
How to make it, step by step
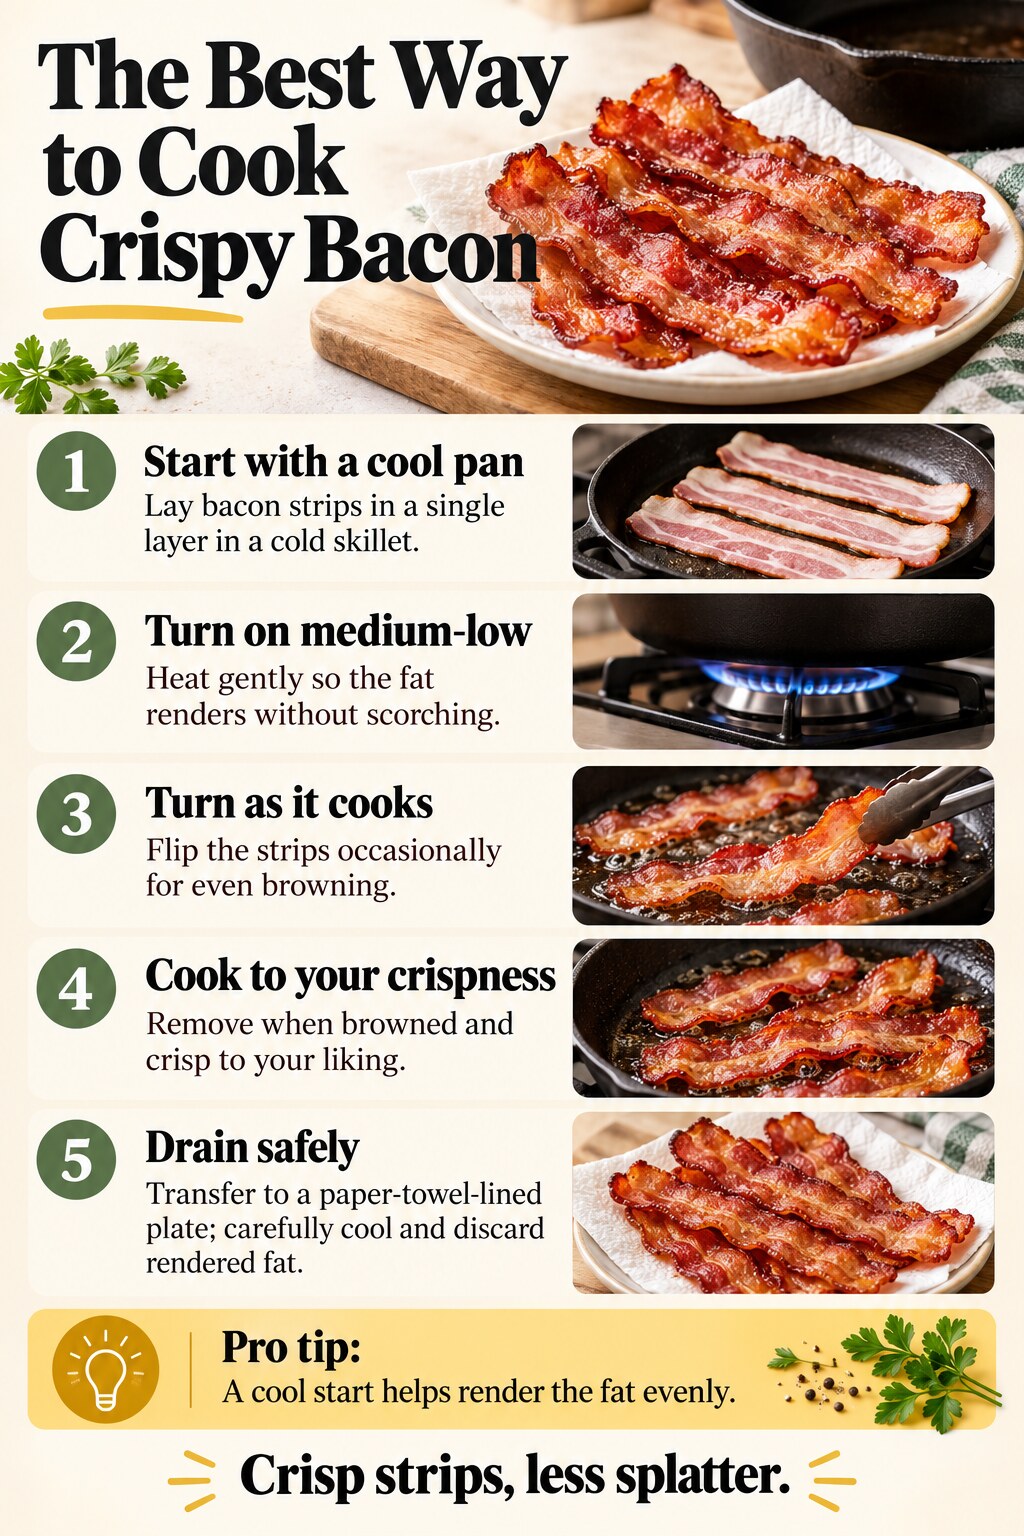
1. Start with a cool pan
Lay bacon strips in a single layer in a cold skillet. Set out the equipment first so the food can move directly into the next stage.
2. Turn on medium-low
Heat gently so the fat renders without scorching. Keep the pieces as consistent as possible; uniform size makes the timing easier to judge.
3. Turn as it cooks
Flip the strips occasionally for even browning. Coat and season evenly rather than leaving heavy patches on only one side.
4. Cook to your crispness
Remove when browned and crisp to your liking. Give the food room and watch the heat closely instead of relying only on the clock.
5. Drain safely
Transfer to a paper-towel-lined plate; carefully cool and discard rendered fat. Let hot fat cool before moving or discarding it, and never pour cooking oil down the drain.
Common mistakes and how to fix them
The bacon scorches
Lower the heat and turn it more often.
It cooks unevenly
Avoid overlapping strips and rotate the pan if the burner has hot spots.
Pro tip
A cool start helps render the fat evenly. This small detail is worth following because it protects the texture you worked to build in the earlier steps.
Flavor variations and substitutions
Finish with cracked pepper, maple, or a light brown-sugar glaze during the final minutes.
What to serve with it
This recipe pairs well with eggs, toast, sandwiches, salads, or baked potatoes. Keep the rest of the plate simple when the main dish is rich, and add a bright or crisp side for contrast.
Storage and reheating
Serve soon after cooking for the best texture. Cool used fat safely before storing or discarding it. Refrigerate cooked leftovers promptly and reheat only the portion you need.
Frequently asked questions
Can I prepare any part ahead?
You can measure the seasonings and prepare cold toppings or sauces in advance. For the best texture, complete the final cooking stage close to serving time. Keep perishable ingredients refrigerated until needed.
How do I know when it is done?
Use the visual and temperature cues in step five rather than the clock alone. Thickness, starting temperature, cookware, and oven or burner behavior can all change the timing.
Can I double the recipe?
Yes, but use additional pans or cook in batches. Doubling the ingredients without increasing the cooking space often causes steaming, uneven browning, and longer cook times.
Final takeaway: Crisp strips, less splatter.
Food-safety reference: USDA food handling, cooking, and leftover guidance. For seafood, see the FDA food-safety guidance.

