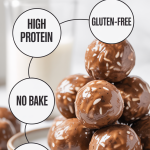
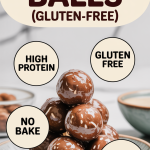
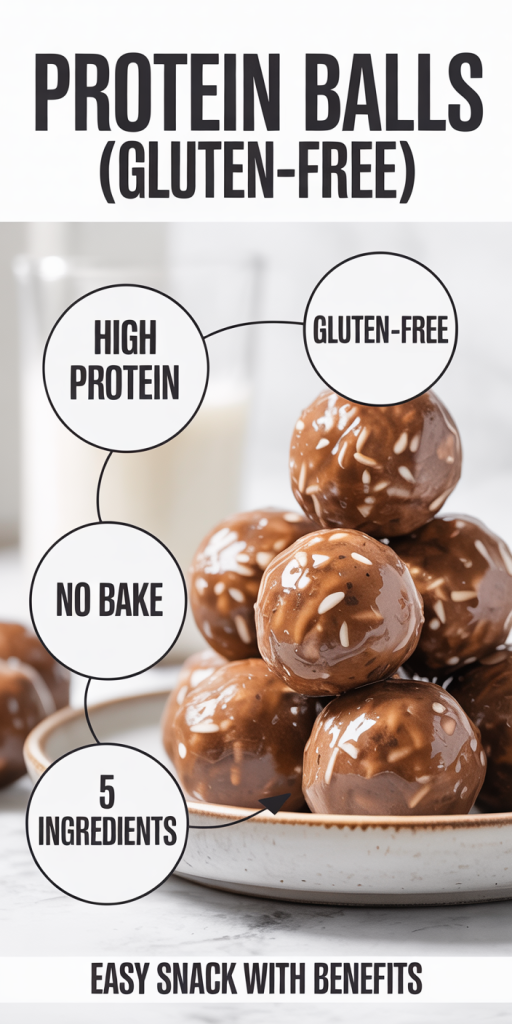
How To Make Protein Balls (Gluten-Free)
In recent years, we’ve all become increasingly aware of the importance of nutrition in our daily lives. Among the many healthful snacks we’ve discovered, protein balls stand out for their convenience and taste. These bite-sized energy boosters not only satisfy our cravings but also help us hit our protein goals, all while being gluten-free. In this text, we’ll share everything you need to know about making protein balls, perfect for a quick snack, pre-workout fuel, or a post-dinner treat. Let’s jump into the world of these nutritious delights.
Understanding Protein Balls
Benefits of Protein Balls
Protein balls are a fantastic way for us to incorporate more protein into our diets without sacrificing flavor. Here are some key benefits:
- Convenience: They’re easy to make and quick to grab on busy mornings or after workouts.
- Customizable: We can adjust the flavors and ingredients to suit our preferences or dietary needs.
- Energy Boost: Packed with nutrients, they provide a lasting energy boost throughout our day.
- Appetite Control: The protein and healthy fats help us feel full longer, reducing the urge to snack unhealthy.
Types of Protein Balls
There’s a whole world of protein balls to explore. From nutty flavors to chocolatey indulgences, here’s a breakdown of some popular types:
- Nut-Based Protein Balls: Made with almonds, cashews, or peanuts as the base, these are rich in healthy fats.
- Seed-Based Protein Balls: Using sunflower or flax seeds provides a different texture and boost of omega-3 fatty acids.
- Oat-Based Protein Balls: Oats add a chewy consistency and extra fiber to keep us satisfied longer.
Essential Ingredients for Gluten-Free Protein Balls
Choosing the Right Protein Powder
When it comes to protein powder, we have a multitude of options, especially when seeking gluten-free alternatives. Here are some popular choices:
- Whey Protein: A complete protein that’s absorbed quickly, perfect for post-workout recovery.
- Plant-Based Protein: Options like pea, rice, or hemp protein are excellent for those who prefer vegan diets.
- Collagen Protein: Great for skin, hair, and joint health, and easy to incorporate into any recipe.
Common Add-Ins and Flavorings
We can get creative with our protein balls by adding various ingredients such as:
- Nut Butters: Peanut, almond, or cashew butter enhance flavor and provide healthy fats.
- Fruits: Dried fruits like cranberries or apricots can add sweetness and flavor.
- Sweeteners: Natural sweeteners like honey or maple syrup can help bind the ingredients and enhance taste.
Step-by-Step Instructions to Make Gluten-Free Protein Balls
Mixing Ingredients
Let’s get started on making our gluten-free protein balls with this simple method:
- Gather Ingredients: Start with your selected protein powder, nut butter, add-ins, and sweeteners.
- Combine Dry Ingredients: In a mixing bowl, combine the protein powder, oats (if using), and any dry add-ins.
- Add Wet Ingredients: Gradually mix in your nut butter and sweeteners. Stir until everything is well combined: the mixture should be thick and pliable.
Shaping the Protein Balls
Now comes the fun part.
- Form Balls: Using your hands, take small portions of the mixture (about a tablespoon) and roll them into balls.
- Even Sizes: Aim for even sizes so they all set properly and look uniform.
Chilling and Storing Protein Balls
Storage Tips for Freshness
To keep our protein balls fresh and tasty, we recommend:
- Chilling: After shaping, place them on a plate or baking sheet and chill in the refrigerator for at least 30 minutes.
- Sealing: Once firm, transfer the protein balls into an airtight container to avoid moisture.
How Long Do They Last?
Stored properly, gluten-free protein balls can last up to a week in the fridge or up to three months in the freezer. This makes them a perfect meal prep snack.
Creative Variations and Tips
Flavor Combinations to Try
Let’s get adventurous with flavors. Here are some combinations we love:
- Chocolate Chip Cookie Dough: Incorporate mini chocolate chips and vanilla extract for a delightful treat.
- Tropical Coconut Lime: Mix in shredded coconut and lime juice for a refreshing twist.
- Cinnamon Apple: Add chopped dried apples and cinnamon for a fall-inspired snack.
Using Different Textures
Varying textures can elevate our protein balls:
- Crunchy vs. Chewy: Mix nuts with oats for crunch while incorporating dates for chewiness.
- Smooth vs. Chunky: Blend some mixture smooth while leaving others chunky for a layered mouthfeel.
Conclusion
Making gluten-free protein balls is not only easy but also a fun way to experiment in the kitchen. With endless customization options, we can tailor them to fit our tastes and nutritional needs. The next time you’re in need of a quick snack or energy boost, we hope these guidelines inspire you to whip up a batch of your own delicious protein balls. Enjoy.