How To Make No-Bake Protein Bars
Who among us doesn’t love a quick, nutritious snack? No-bake protein bars combine convenience and health benefits, allowing us to craft a delicious treat that fits our dietary needs. In this guide, we’re diving deep into the world of no-bake protein bars, exploring their benefits, the best ingredients to use, and how to customize them to match our unique flavors. Whether we’re busy professionals, parents on the go, or fitness enthusiasts, these bars can quickly become our go-to snack in our busy lives.
Why Choose No-Bake Protein Bars?
No-bake protein bars have gained popularity among health-conscious snackers for a good reason. Here’s why they stand out:
Benefits of No-Bake Protein Bars
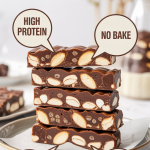
One of the biggest advantages of making no-bake protein bars is their simplicity. We don’t need to preheat our ovens or deal with tricky baking techniques. Instead, we can mix, mold, and refrigerate our bars, saving time and energy. Plus, they’re full of nutritious ingredients that fuel our bodies.
Quick and Convenient Snack
If we find ourselves in a rush, these bars are perfect for life’s hectic moments. They make an excellent pick-me-up before workouts or a nutritious snack during the day. Simply grab one from the fridge, and we’re ready to go.
Customize to Your Taste
Another fantastic benefit is the ability to personalize our bars. We can choose our flavors, textures, and even controlling the level of sweetness. Whether we prefer something fruity, nutty, or chocolaty, the possibilities are endless.
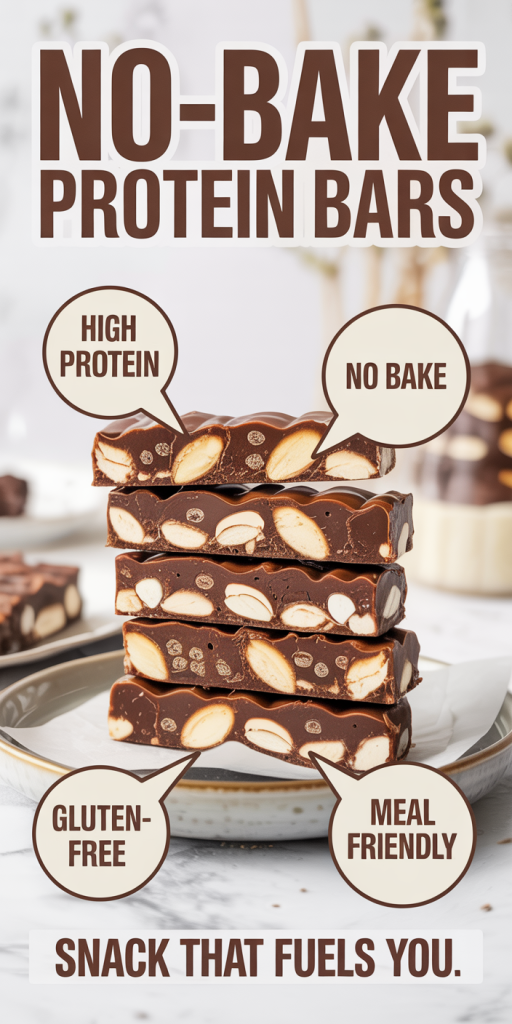
How To Make No-Bake Protein Bars
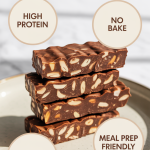
If you want a snack that’s fast, filling, and doesn’t require turning on the oven, no-bake protein bars are your new best friend. They’re cheaper than store-bought bars, easy to customize, and you actually know what’s going into them. No weird ingredients. No chalky aftertaste. Just real food and solid protein.
Let’s make some.
Why Make Your Own Protein Bars?
Store-bought bars look healthy… until you read the label. Most are packed with sugar alcohols, seed oils, and fillers that don’t do your stomach any favors.
Homemade protein bars give you:
- Full control over ingredients
- Better taste and texture
- Lower cost per bar
- Easy customization for your goals (low-carb, high-protein, dairy-free, etc.)
Plus, they take about 10 minutes to mix and one hour to chill. That’s it.
Basic No-Bake Protein Bar Recipe
This is a simple base recipe you can build on.
Ingredients:
- 1 cup rolled oats (or almond flour for low-carb)
- ½ cup natural peanut butter or almond butter
- ⅓ cup honey or maple syrup (use less if you want lower sugar)
- ½ cup protein powder (vanilla or chocolate works great)
- 1 teaspoon vanilla extract
- Pinch of salt
Optional: - 2–3 tablespoons dark chocolate chips
- Chia seeds, flaxseed, or shredded coconut
Step-by-Step Instruction
1. Mix the dry ingredients
In a large bowl, combine oats, protein powder, and salt. Stir until evenly mixed.
2. Add the wet ingredients
Add peanut butter, honey (or maple syrup), and vanilla extract. Mix until everything comes together into a thick dough.
If it feels too dry, add 1–2 tablespoons of milk (regular or almond milk).
If it’s too sticky, add a little more oats or protein powder.
3. Press into a pan
Line a small baking dish or loaf pan with parchment paper. Press the mixture firmly into the pan using the back of a spoon or your hands.
4. Chill
Refrigerate for at least 1 hour so the bars can firm up.
5. Slice and store
Remove from the pan and cut into bars or squares.
Easy Flavor Variations
Once you master the base recipe, the fun begins.
Chocolate Peanut Butter
- Use chocolate protein powder
- Add cocoa powder and chocolate chips
Coconut Almond
- Almond butter
- Shredded coconut
- Vanilla protein powder
Berry Vanilla
- Freeze-dried strawberries or blueberries
- Vanilla protein powder
- White chocolate chips
Low-Carb Version
- Almond flour instead of oats
- Sugar-free syrup or monk fruit sweetener
- Unsweetened nut butter
Storage Tips
- Refrigerator: Keeps for up to 7 days in an airtight container
- Freezer: Store up to 3 months (great for meal prep)
- Wrap individual bars in parchment paper for grab-and-go snacks
Nutrition Tip
To boost protein even more:
- Use a high-quality protein powder
- Add collagen peptides
- Increase nut butter slightly
- Reduce sweetener if you’re watching sugar
These bars work great as:
- Pre-workout fuel
- Post-workout recovery
- Midday snack
- Healthy dessert
Final Thoughts
No-bake protein bars are one of the easiest healthy snacks you can make at home. They’re quick, flexible, and taste way better than most packaged bars. Once you make them once, you’ll never go back to overpriced store brands.
Simple ingredients. No oven. Real food.
That’s a win.