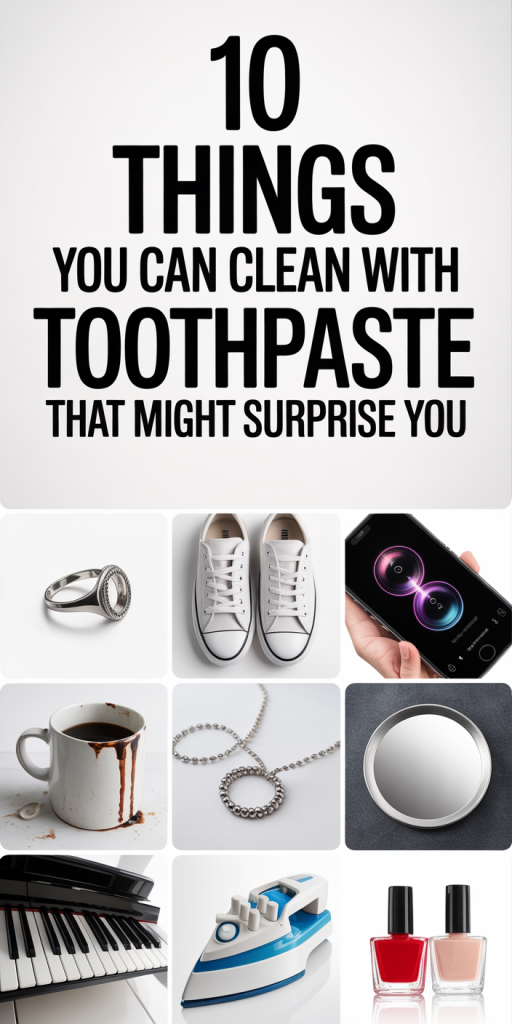
10 Surprising Things You Can Clean With Toothpaste (And How To Do It Safely)
We’ve all reached for toothpaste in the morning and not thought much beyond our teeth. But toothpaste, especially plain white non-gel formulas, is surprisingly versatile as a gentle abrasive cleaning agent. Over the years we’ve tested and refined simple toothpaste hacks that rescue dull plastics, cloudy headlights, scuffed shoes, and tarnished silver, often without specialized cleaners. In this guide we’ll walk through ten practical uses for toothpaste, explain exactly which type to use, show step-by-step methods, and flag safety tips so you don’t damage delicate finishes. Whether you’re sprucing up an old pair of sneakers or restoring a yellowed piano key, these inexpensive tricks can save time and money. Read on and you might start stashing a tube of plain toothpaste in a few unexpected places around the house.
Silver Jewelry: Remove Tarnish Fast With Non-Gel Toothpaste
Toothpaste works well on lightly tarnished silver because it contains mild abrasives that remove oxides without harsh chemicals. We prefer plain white non-gel toothpaste (no whitening beads or strong blue dyes) for safety and predictability.
What to do:
- Inspect first: If the silver is heavily plated, hand-hammered, or has loose stones, skip this method. For heirloom pieces with soft gemstones or porous settings, consult a jeweler.
- Apply a small pea-sized dab of toothpaste to a soft, lint-free cloth or an old toothbrush.
- Gently rub the tarnished area in small circular motions for 20–60 seconds. Avoid aggressive scrubbing on filigree or delicate engravings.
- Rinse thoroughly under lukewarm water and pat dry with a microfiber cloth. Buff to a shine.
Why it works: The mild abrasives in toothpaste remove the thin layer of tarnish (silver sulfide) and the surfactants help carry residues away. We’ve found this restores shine quickly without the chemical smell of store polishes.
Cautions: Do not use toothpaste on sterling silver with intentional patina, on pieces with glued-in stones, or on highly polished mirror finishes repeatedly, overuse can slightly wear away fine details. Always test on an inconspicuous spot first.
Cloudy Car Headlights And Foggy Plastic Lenses
Foggy headlights reduce brightness and look shabby. While professional restoration kits are ideal, toothpaste is an effective stopgap for mildly oxidized plastic lenses.
What we do:
- Clean the lens with soap and water to remove surface dirt.
- Mask the area around the headlight with painter’s tape to protect paint and trim.
- Apply a generous amount of plain white toothpaste to a soft cloth or sponge.
- Rub in circular motions across the lens for 2–5 minutes per section, applying steady pressure. For stubborn spots, use an old toothbrush to reach corners.
- Rinse and inspect. Repeat if necessary, then finish by polishing with a microfiber cloth.
Tips and notes: Toothpaste temporarily smooths tiny surface scratches and removes oxidized plastic, improving clarity. For severely yellowed or deeply scratched lenses, a multi-step kit with sanding and UV sealant is better. If you use toothpaste frequently, reapply a UV-protective spray to prolong results.
Safety: Avoid toothpaste with heavy gels or abrasives labeled “whitening” that can be too gritty. Don’t use on glass lenses with special coatings used by some manufacturers, check your owner’s manual first.
White Sneakers And Scuffed Shoe Soles
White sneakers collect scuffs and grime fast. We love using toothpaste to brighten rubber soles and remove scuff marks from faux-leather or canvas without harsh chemicals.
How we tackle sneakers:
- Wipe loose dirt away with a damp cloth.
- Use a soft-bristled brush or toothbrush and a small amount of white toothpaste to scrub rubber soles and midsole scuffs in circular motions.
- For canvas or fabric areas, test a hidden spot first: we usually dilute toothpaste with a few drops of water to make a light paste and gently dab with a cloth rather than aggressive scrubbing.
- Rinse thoroughly with a damp cloth and let air-dry. Repeat for stubborn spots.
What works best: Non-gel white toothpaste is our go-to. On stubborn sole yellowing, toothpaste plus baking soda can add an extra boost, but use that mix sparingly to avoid abrasion.
Warnings: Don’t use toothpaste on genuine leather or suede: it can dry or discolor those materials. For sensitive fabrics, test inconspicuously and be gentle. After cleaning, consider a protective spray to slow new staining.
Scuff Marks On Painted Walls And Scuffed Floors
Scuffs on painted walls and scuffed vinyl or laminate flooring are annoying but often removable with a dab of toothpaste. Because toothpaste is slightly abrasive, it can lift scuff marks without stripping paint, if we’re careful.
Wall method:
- Lightly dust the area.
- Apply a small amount of white toothpaste to a damp sponge or microfiber cloth.
- Gently rub the scuff in circular motions, don’t press hard.
- Wipe residue away with a clean damp cloth, then dry.
Floor method (vinyl/laminate):
- Sweep the area to remove grit.
- Put toothpaste on a soft cloth and test a small hidden area for finish compatibility.
- Rub the scuff gently until it fades, then wipe clean.
When to avoid: If the paint is flat, chalky, or aged, toothpaste can remove paint pigment. Textured walls or specialty finishes (e.g., suede or Venetian plaster) should be approached with care. For hardwood floors, avoid toothpaste, use recommended wood cleaners and follow the finish manufacturer’s guidance.
Extra tip: For persistent marks, follow up with a magic eraser-type product but use it sparingly: those are more abrasive than toothpaste.
Chrome Fixtures And Stainless Steel Small Items
Toothpaste can restore shine to chrome faucets, stainless steel jewelry, and small kitchen items like drawer pulls. Its mild abrasiveness removes water spots and light grime, while the included surfactants help break down residue.
Our approach:
- Rinse the area and wipe dry to remove loose deposits.
- Put a small amount of non-gel toothpaste on a soft cloth.
- Rub along the grain on stainless steel or in small circles on chrome until the spot clears.
- Rinse thoroughly and dry immediately to avoid water spots. Buff with a microfiber cloth for shine.
Do this for: small stained teaspoons, chrome showerheads (remove and scrub around crevices), door handles, and stainless steel trim.
Caveats: Avoid toothpaste on brushed finishes if you want to preserve the original fine grain, test first and rub in the direction of the grain. Don’t use on plated chrome that may have thin layers, aggressive scrubbing can wear plating over time.
Eco-note: Toothpaste is safer for occasional use than some chemical cleaners, but we still rinse thoroughly to avoid leaving residue that can attract dirt.
Crayon, Marker, And Ink Stains On Painted Surfaces
Kids (and sometimes we) turn walls into canvases. Toothpaste (paired with a little baking soda for tougher marks) often removes crayon, washable marker, and some ballpoint ink from painted surfaces.
Step-by-step:
- Start with plain white toothpaste on a soft cloth for washable markers and crayon. Gently rub the mark in small circles and wipe away residue.
- For stubborn crayon, sprinkle a bit of baking soda onto the toothpaste to form a light paste. The slightly increased abrasiveness helps lift wax pigments.
- For ink, immediately dab (don’t rub) with toothpaste using a cotton swab and then gently work outward. Rinse and blot dry.
Precautions: Always test in an inconspicuous spot. Old or delicate paints can dull if you scrub too hard. If the wall has specialty paint (chalk paint, limewash), avoid toothpaste and try a gentler approach like a damp microfiber pad or professional cleaners.
When toothpaste won’t cut it: Permanent marker or deeply set ink may require rubbing alcohol applied sparingly, again, test first to ensure paint compatibility.
Yellowed Piano Keys, Plastic Toys, And Other Small Plastics
Yellowing on plastic, whether piano keys, old toys, or household gadgets, can be caused by oxidation and grime. Toothpaste can often brighten small plastic items by lightly abrading surface stains.
How we restore plastics:
- Clean the item with mild soap and water to remove surface dirt.
- Apply a small amount of white toothpaste with a soft cloth or toothbrush and rub in circular motions.
- For narrow crevices (piano key joints, toy seams), use a cotton swab.
- Rinse thoroughly and dry. Repeat if needed.
Notes on piano keys: For synthetic ivory keys and most modern plastics, toothpaste can remove surface stains. For vintage ivory or delicate instruments, consult a professional: harsh abrasives can damage historic materials or the glue joints between keys.
For deeply yellowed plastics: Toothpaste may offer a cosmetic improvement but won’t reverse chemical yellowing fully. A diluted hydrogen peroxide bath and UV exposure (retrobright method) can reverse oxidation for some plastics, but that’s a specialist technique and not suitable for painted or painted-plastic items.
Safety: Avoid using toothpaste on flexible plastics or materials with printed designs, as rubbing can remove ink or decals.
Conclusion
Toothpaste is an unexpectedly handy cleaning tool for quick fixes: tarnished silver, cloudy headlights, scuffed sneakers, wall marks, small chrome or stainless items, crayon and marker messes, and lightly yellowed plastics respond well to careful treatment. We recommend plain white non-gel toothpaste as the safest, most controllable option. Always test in an inconspicuous spot, use gentle pressure, and avoid delicate finishes or porous materials. When in doubt, especially with antiques, genuine leather, or valuable musical instruments, consult a professional. These toothpaste tricks won’t replace specialized restorations, but they’re inexpensive, accessible, and often surprisingly effective for everyday touch-ups.