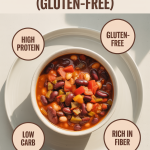
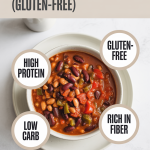
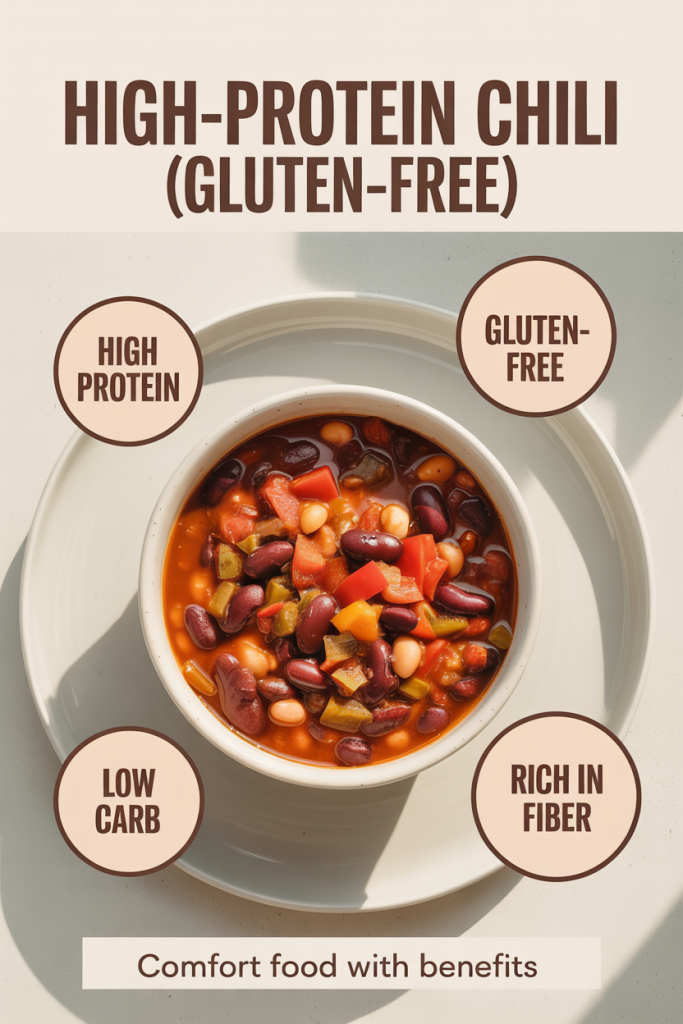
How To Make High-Protein Chili (Gluten-Free)
Chili is a beloved comfort food for many, offering warmth and hearty flavors that make it a staple in kitchens across the country. When we think of chili, we often imagine a warm bowl filled with meat, spices, and beans. But what if we could elevate this classic dish to be not just satisfying, but also a powerhouse of nutrition? In this guide, we will explore how to make high-protein chili that is both gluten-free and packed with flavor. From understanding the health benefits to honing in on the key ingredients, we’ll walk you through every step.
Understanding High-Protein Chili
To truly appreciate our high-protein chili, we first need to understand what makes it a standout dish. High-protein chili not only satisfies our taste buds but also provides essential nutrients and keeps us full for longer.
Health Benefits of High-Protein Chili
High-protein meals are vital for several reasons. Protein is crucial for muscle repair and growth, making this chili not just a comfort dish but also an excellent post-workout meal. Also, protein helps regulate our appetite, making us feel full for longer and reducing the temptation for unhealthy snacking. Incorporating beans, lean meats, or plant-based protein can help us achieve our daily protein intake while enjoying a delicious, hearty meal.
Key Ingredients for High-Protein Chili
The magic of any chili lies in its ingredients. For our high-protein version, we will select ingredients that not only heighten the flavor but also significantly boost the protein content.
Choosing the Right Protein Sources
When it comes to protein sources, our options are plentiful. For a traditional chili, we might lean toward lean ground beef or turkey, but for a gluten-free, plant-based alternative, we can explore options like canned beans, lentils, quinoa, or even textured vegetable protein (TVP). Each of these options contributes unique flavors and textures. Beans such as kidney beans and black beans are particularly high in both protein and fiber, offering a satisfying bite while enhancing our chili’s nutritional profile.
Spices and Seasonings to Enhance Flavor
The beauty of chili lies in its robust flavor, largely derived from a blend of spices and seasonings. Typically, we can kick up the heat with ingredients like cumin, chili powder, and paprika, but the secret lies in balance. A pinch of cayenne for spice, along with subtle hints of oregano or bay leaf, can be just what we need to bring our chili to life.
Experimenting with different spices allows us to create a tailor-made chili that suits our palate. Don’t be afraid to try fresh herbs like cilantro or garnish with avocado for added creaminess.
Step-by-Step Chili Recipe
Now that we understand the components of high-protein chili, let’s jump into our step-by-step recipe. We’ll ensure that every ingredient is measured out, preparing us for a successful outcome.
Preparation Steps
- Gather Ingredients: We’ll need ground turkey (or another protein of choice), canned beans (like kidney or black beans), diced tomatoes, bell peppers, onions, garlic, and our assortment of spices.
- Chop Vegetables: Dice the onions and bell peppers: mince the garlic. Preparing our ingredients in advance will make the cooking process much smoother.
- Set Up Cooking Station: Ensure we have our large pot or Dutch oven ready to go, along with measuring cups and spoons.
Cooking Instructions
- Sautéing: In our pot, heat a drizzle of olive oil over medium heat. Once hot, add the onions, bell peppers, and garlic. Sauté until the onions become translucent, about 5 minutes.
- Brown the Protein: Add the ground turkey (or chosen protein) to the pot, breaking it apart with a wooden spoon. Cook until browned, about 7-10 minutes.
- Combine Ingredients: Stir in the canned beans, tomatoes, and spices. Add salt and pepper to taste.
- Simmer: Once combined, bring the mixture to a boil. Reduce the heat and let the chili simmer for at least 30 minutes, allowing the flavors to meld together. We can stir occasionally to ensure nothing sticks to the bottom.
- Taste and Adjust: After simmering, taste our chili. If desired, add more spices or seasoning based on our palate.
Tips for Perfecting Your Chili
While our chili is already a delicious creation, there are some tips we can follow to elevate our dish to new heights:
- Use Fresh Ingredients: We shouldn’t underestimate the impact of using fresh vegetables and quality spices. Fresh ingredients yield better flavor.
- Let It Sit: Chili often tastes better the next day. If we have the time, consider making it a day in advance to let the flavors meld even further.
- Adjust for Consistency: If our chili is too thick, adding vegetable broth can help thin it out. For a thicker consistency, we can simmer longer uncovered.
Storage and Meal Prep Suggestions
Making chili in bulk is one of the best parts. Not only do we get to enjoy it multiple meals, but it also stores well for later. Here are our storage tips:
- Refrigeration: After letting our chili cool, we can store it in an airtight container in the refrigerator for up to a week.
- Freezing: If we plan on enjoying it later, freeze individual portions in freezer-safe containers for up to three months. On days we want chili, we can simply thaw and reheat.
Having prepped meals ready to go makes life easier and ensures we have healthy options on hand.
Conclusion
Our journey in creating a high-protein, gluten-free chili not only brings delight to our taste buds but also fuels our body with essential nutrients. Remember, chili is versatile, feel free to swap out ingredients based on your preferences or dietary restrictions. With the tips and recipe outlined, we hope this dish becomes a staple in our kitchen, making meal times both nutritious and satisfying.