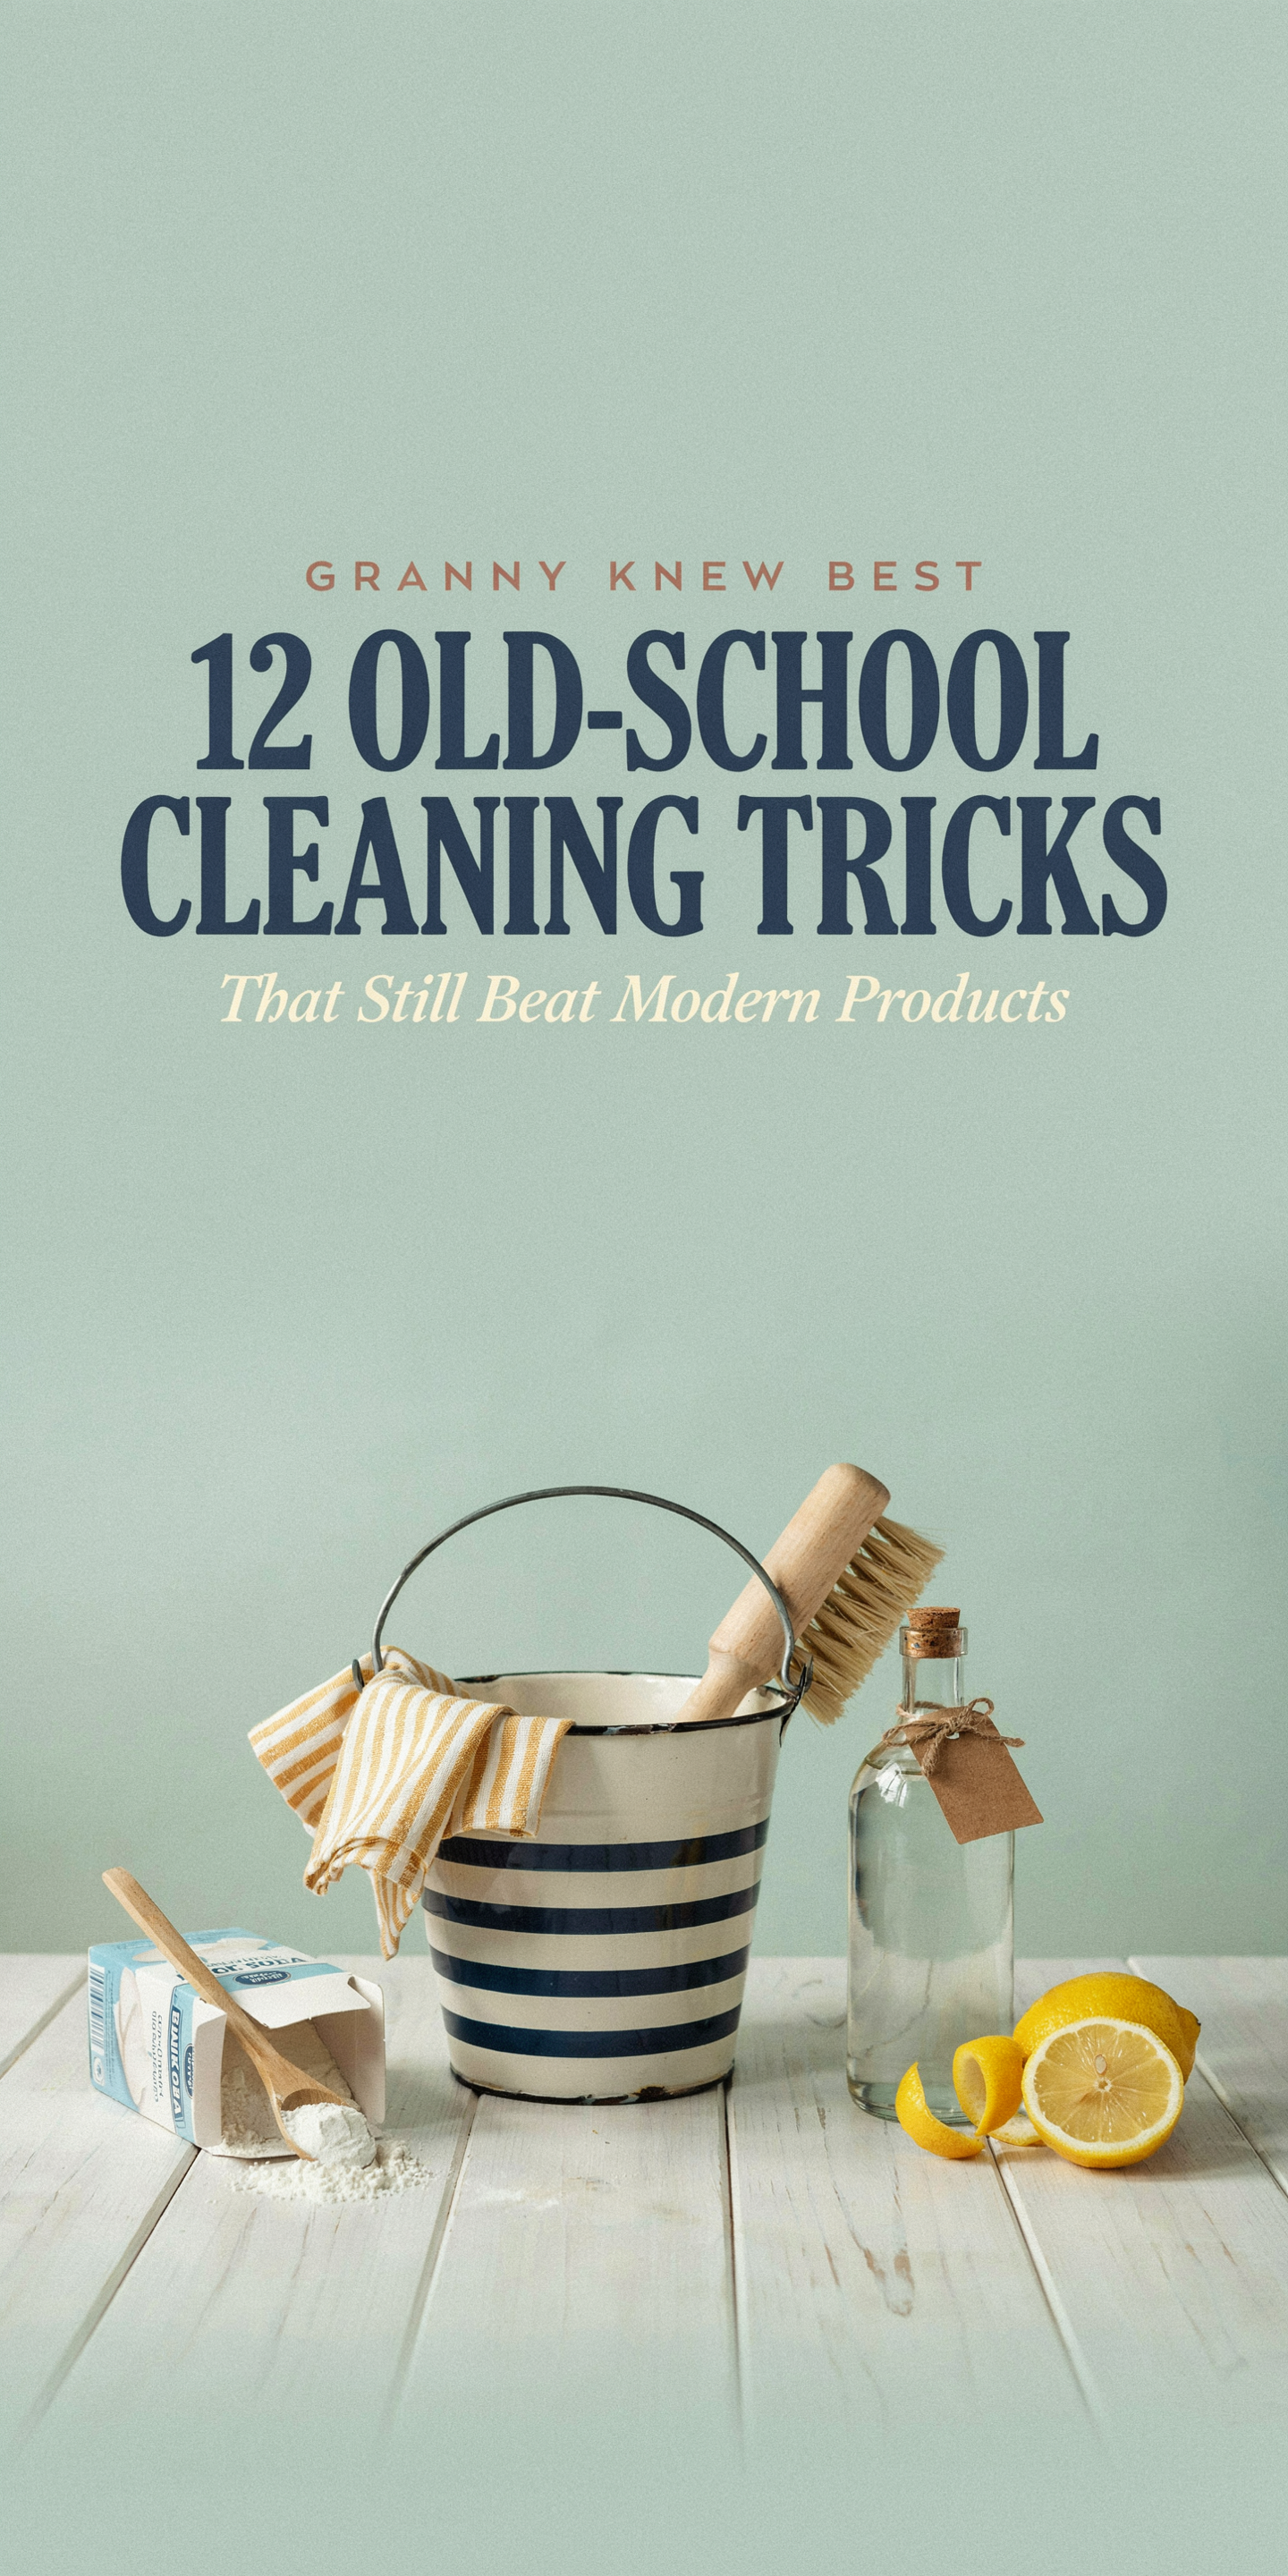
12 Old‑School Cleaning Tricks That Still Beat Modern Products (And How To Use Them)
We’ve all been tempted by glossy bottles and miracle sprays promising spotless counters in minutes. But before you empty another expensive product into your cart, consider this: many old‑school cleaning tricks were developed when people had to keep homes clean using household staples, not industrial chemistry. Those methods are still remarkably effective because they rely on simple chemistry, mechanical action, and patience. In this text we’ll show 12 proven, time‑tested techniques that frequently outperform store‑bought cleaners, how they work, when to use them, and the practical ratios and safety notes you need. Whether you want to beat soap scum, revive wool, or strip grime from gutters, we’ll walk you through the exact steps so you can save money, reduce chemicals in your home, and get better results.
Why Old‑School Cleaning Methods Still Work Better In Many Cases
Old‑school cleaning tricks aren’t just nostalgia. They stick around because they solve problems with straightforward mechanisms: acid to dissolve mineral deposits, alkali to cut oils, abrasives to remove buildup, and heat or friction to aid separation. Modern products often mix dozens of ingredients to achieve broad appeal, fragrance, stabilizers, and surfactants, but that breadth can dilute the potency for a specific problem.
We’ve found three practical reasons traditional methods outperform many contemporary cleaners:
- Targeted chemistry: Vinegar (acetic acid) and citric acid are excellent at breaking down limescale because they react directly with calcium carbonate. Baking soda (a mild alkali) neutralizes odors and helps lift grease by changing pH and creating gentle abrasion. These single‑ingredient strategies work because the chemistry is simple and focused.
- Mechanical synergy: Old remedies pair a chemical with mechanical action, soaking followed by scrubbing, or a paste that clings while dissolving stains. Modern sprays sometimes evaporate too quickly, reducing contact time and effectiveness.
- Cost and environmental benefit: A jar of baking soda and a bottle of white vinegar are cheap, biodegradable, and versatile. Using them reduces plastic waste and exposure to unnecessary fragrances or preservatives.
We’re not saying every modern product is useless, specialized situations like disinfecting after illness may require EPA‑registered agents. Rather, for a surprising number of everyday tasks, time‑tested methods give equal or better results with fewer ingredients and lower cost.
Kitchen Cleaning: 4 Time‑Tested Tricks That Outperform Store‑Bought Products
- Boiling water + baking soda for clogged drains
When slow sinks frustrate us, pouring boiling water followed by a cup of baking soda and then a kettle of boiling water again often clears organic buildup. The hot water softens grease: baking soda helps break the film and adds gentle abrasion. For a tougher clog, follow baking soda with a cup of white vinegar, wait 10–15 minutes for fizzing action, then flush with hot water. This beats many chemical drain openers because it’s safer for pipes and the environment.
2. Salt + lemon to clean cast iron
We treat well‑seasoned cast‑iron skillets carefully: coarse salt and a halved lemon make a powerful yet gentle abrasive that removes stuck food without stripping seasoning. Sprinkle a tablespoon of coarse salt, use the lemon half to scour, rinse with warm water, then dry and rub with a thin coat of oil. Compared with acidic store cleaners, this method preserves seasoning and adds no toxic residues.
3. Baking soda paste for burnt pots and oven spills
Make a thick paste of baking soda and little water, spread it over burnt areas, let it sit for 30–60 minutes, then scrub with a non‑scratch pad. The paste clings and softens carbonized food: it’s usually more effective and less toxic than chemical oven cleaners, which can require extensive ventilation and wear on metal finishes.
4. Vinegar soak for microwave and kettle limescale
Fill a microwave‑safe bowl with equal parts water and white vinegar, microwave until steaming (about 3‑5 minutes), then let it sit for a few minutes before wiping. For kettles, boil a solution of 1 part vinegar to 3 parts water, let cool, then scrub and rinse thoroughly. The acetic acid dissolves mineral deposits rapidly and without harsh fumes.
Practical tip: We always rinse thoroughly after acid or alkaline treatments, and neutralize strong residues with a baking soda rinse when needed. These kitchen techniques are low‑cost, low‑risk, and surprisingly effective compared with many niche cleaners.
Bathroom And Tile: Classic Fixes For Soap Scum, Grout, And Limescale
Bathrooms collect three main problems: soap scum (organic film + hard water), grout stains (embedded dirt and mildew), and limescale (mineral buildup). Here’s how old methods beat new ones.
- Borax and hydrogen peroxide for grout whitening
We make a paste with borax and hydrogen peroxide (thicker than pancake batter) and apply it to grout lines. Let it sit 10–20 minutes, then scrub with a toothbrush. Borax is alkaline and helps lift oils: hydrogen peroxide oxidizes organic matter and brightens. It’s often more consistent and less abrasive than powdered grout cleaners and avoids the bleaching splash risks of straight chlorine, though we still use gloves and good ventilation.
2. Vinegar and shaving cream for soap scum (on non‑stone surfaces)
For fiberglass and acrylic surfaces, we’ve had great luck applying shaving cream (yes, ordinary foam) over soap scum, then wiping with a cloth dampened with white vinegar. The foam’s surfactants loosen the film, and the vinegar dissolves mineral residue. Don’t use vinegar on natural stone (marble, travertine), it etches.
3. Pumice stone for toilet rings
A wet pumice stone gently abrades mineral rings without harsh chemicals. We keep the stone wet and rub carefully: it removes buildup mechanically and is far less smelly than bleach tablets.
4. Citric acid soak for chrome and fixtures
Citric acid powder dissolved in warm water (about 2 tablespoons per cup) is excellent for removing limescale from faucets and showerheads. Use a bag or wrap soaked cloths around fixtures to get prolonged contact. It’s odorless and biodegradable compared to many commercial descalers.
Safety note: Always test a small inconspicuous area before applying any acidic or abrasive treatment, and avoid acids on natural stone. For mildew, combine thorough physical removal with improved ventilation to prevent recurrence.
Living Areas And Upholstery: Gentle, Effective Old‑School Techniques
Our living spaces need cleaning methods that are effective but gentle enough to preserve fabrics and finishes.
- Club soda for fresh upholstery stains
We keep a bottle of club soda in the cleaning cupboard for spills. Blot the stain from the outside in with a clean cloth dipped in club soda, the carbonation lifts fresh spills and the salts help prevent dye migration. For many wine or coffee stains, immediate club soda treatment prevents set‑in marks better than stain remover sprays that can push stains deeper if used incorrectly.
2. Vinegar + water for odor and general fabric refresh
A 1:3 mixture of white vinegar and water in a spray bottle refreshed upholstery and neutralized odors without leaving a strong vinegar scent once dry. Vinegar neutralizes alkaline odors and helps break down residues that attract dirt. We always test colorfastness first.
3. Cornstarch or talc for grease on fabric
For greasy upholstery or rugs, sprinkle cornstarch or talc on the stain, let sit 15–30 minutes to absorb oil, then vacuum. The powder soaks up oils mechanically: repeat if necessary. This is gentler and less chemical‑intensive than solvent‑based stain removers.
4. Dry‑cleaning solvent alternatives: DIY spotting with rubbing alcohol
Rubbing alcohol (isopropyl alcohol) is excellent for ink or dye transfer spots because it dissolves dyes and evaporates quickly. Apply sparingly to a cloth, blot the stain, and follow with a damp cloth to remove residue. It’s often more precise and less messy than some all‑purpose spot cleaners.
We’ve found that combining mechanical action (blotting, powdering, vacuuming) with simple chemistry gives better long‑term results than many aerosol products that promise instant fixes but leave residues that attract dirt.
Laundry, Wood, And Outdoor Surfaces: Simple Tricks For Tough Problems
- Lemon + salt to brighten white laundry stains and rust
For small rust spots or yellowing on collars, sprinkle salt, squeeze fresh lemon juice over the area, and lay the garment in sun for 30–60 minutes. The citric acid plus UV acts as a mild natural bleach. We use this on whites and colorfast fabrics only, always test first.
2. Soap and hot water for greasy outdoor furniture
Pressure washers are tempting, but a good scrub with dish soap, warm water, and a stiff brush often restores patio furniture without risk of etching or stripping finishes. Dish soap cuts oils effectively and is far cheaper than specialty deck cleaners.
3. Mayonnaise for wood water rings
An old but effective trick: we rub a small amount of mayonnaise into water rings or white heat marks on finished wood, let it sit an hour, then wipe and polish. The oil and mild solvents in mayonnaise help rehydrate the finish and blend the ring. For deeper damage use a specialty restore product, but mayonnaise frequently saves the day for light marks.
4. Vinegar + water for outdoor glass and solar panels
A 1:10 vinegar:water spray and a squeegee work great for windows, glass doors, and solar panels to remove pollen and grime. It’s cheaper and safer than some commercial glass cleaners that leave film or streaks.
5. Borax for moldy wood and concrete mildew
A solution of borax and water can be brushed onto moldy decks or concrete to inhibit regrowth. Borax is less toxic to plants than chlorine bleach and persists on surfaces to help prevent recurrence when used correctly.
These techniques are often less aggressive than specialized products, preserving finishes and reducing the need for repeated treatments.
When To Use Old Tricks — Tools, Safety, And Modern Limitations
Old‑school cleaners are versatile, but they’re not universal panaceas. We recommend choosing methods based on three considerations: surface compatibility, safety, and required contact time.
Surface compatibility
- Avoid acids (vinegar, lemon, citric acid) on natural stone like marble or limestone, they etch. For stone, use pH‑neutral cleaners or stone‑specific products.
- Don’t use abrasive tools (steel wool, pumice) on delicate surfaces. A nylon pad or soft brush is often enough.
Safety and ventilation
- Always work in a ventilated area when using strong concentrations of vinegar, borax, or hydrogen peroxide. Wear gloves for prolonged contact with alkalines or oxidizers.
- Never mix bleach with ammonia or vinegar, dangerous chloramine or chlorine gas can form.
Contact time and patience
- A paste or soak is often more effective than a quick spray. Many old methods rely on prolonged contact (15–60 minutes) to dissolve deposits.
- For heavy microbial contamination (post‑illness, certain bacterial threats), use EPA‑approved disinfectants plus to mechanical cleaning.
Tools that make old methods perform like professionals
- Microfiber cloths trap particles instead of smearing them.
- A good soft‑bristle brush and an old toothbrush are indispensable for grout and crevices.
- A handheld steam cleaner can amplify the effectiveness of baking soda and vinegar techniques for fabrics and sealed hard surfaces, but don’t steam wood or unsealed surfaces.
Limitations of old methods
- Time: many require soaking or repeated applications.
- Aesthetic finishes: some DIY treatments can change patina or finish, so patch‑test first.
We favor an integrated approach: use old tricks for routine and many tough problems, but recognize when specialized disinfectants or industrial cleaners are necessary.
Quick Homemade Recipes And Ratios For The Most Useful Old‑School Cleaners
Here are the exact recipes we keep on a card for quick reference. Measure roughly, these are forgiving, but follow safety notes.
- All‑purpose vinegar spray (not for stone)
- 1 cup white vinegar
- 3 cups water
- 10–15 drops essential oil (optional)
Mix in a spray bottle. Use for windows, counters (not stone), and general deodorizing. Shake before use.
2. Baking soda paste for ovens and burnt pots
- 1 cup baking soda
- Add water slowly to make a thick paste
Apply, wait 30–60 minutes, scrub, rinse.
3. Drain refresh (gentle)
- Pour boiling water down the drain
- 1 cup baking soda
- 1 cup white vinegar (pour after baking soda)
Cover drain for 10–15 minutes, flush with hot water.
4. Grout whitening paste
- 1/2 cup borax
- Enough hydrogen peroxide to make a paste
Apply, wait 10–20 minutes, scrub, rinse. Use gloves.
5. Descaling soak for kettles and showerheads
- 1 part white vinegar to 3 parts water
Boil or soak, then rinse thoroughly. For fixtures, wrap with a vinegar‑soaked cloth.
6. Grease absorbent for fabrics
- Sprinkle cornstarch or talc liberally
Let sit 15–30 minutes, vacuum, repeat if needed.
7. Upholstery refresher spray
- 1 cup water
- 1/4 cup white vinegar
- 1 tablespoon vodka (optional, helps evaporation)
Lightly mist: test for colorfastness.
8. Mold/mildew borax solution
- 1 cup borax per gallon of warm water
Brush on, let dry, no rinse required on concrete: rinse for plant‑adjacent areas.
Safety reminders:
- Label homemade solutions clearly. Keep out of reach of children and pets.
- Store vinegar and baking soda in original containers or labeled bottles. Hydrogen peroxide degrades in light, keep it opaque.
With these ratios, we cover the majority of household cleaning tasks without relying on specialized chemicals.
Conclusion: How To Mix Old Wisdom With Smart Modern Habits
Old‑school cleaning tricks are practical, cost‑effective, and often more environmentally friendly than many commercial options. We recommend using them as the backbone of home maintenance, reserve specialized products for situations that demand them (disinfection after illness, heavy industrial grease, or delicate materials that require manufacturer care).
Blend patience, correct tool choice, and basic chemistry: a soak when needed, a paste that clings, and the right abrasive level are usually the winning combo. Keep a small card of the recipes above in your cleaning cupboard, test on hidden areas first, and you’ll likely find these simple methods outperform pricey alternatives, and keep your home cleaner with fewer chemicals.