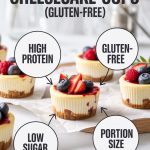
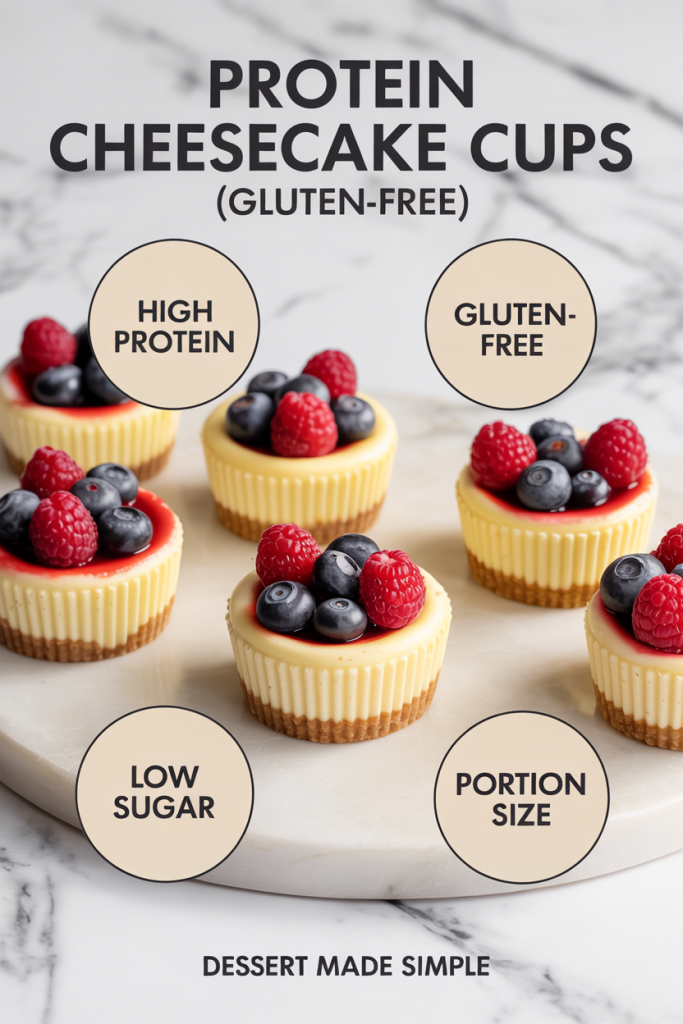
How To Make Protein Cheesecake Cups (Gluten-Free)
When we think about desserts, cheesecake often tops our list. But if you’re like us, you may worry about the calories and sugar content that comes with traditional cheesecake. That’s where protein cheesecake cups come into play, delicious, creamy, and guilt-free. In this guide, we’ll explore everything you need to know about making protein cheesecake cups that are both gluten-free and packed with flavor. Whether you’re a fitness enthusiast or just someone looking for a healthier dessert option, this recipe is perfect for you.
What Are Protein Cheesecake Cups?
Protein cheesecake cups are a delightful twist on the classic cheesecake, designed to be lighter and more nutritious. They are essentially individual servings of cheesecake made with protein-rich ingredients, making them an ideal treat for those who want to indulge without the guilt. By using ingredients like Greek yogurt and protein powder, we transform a rich dessert into a snack that supports our fitness goals. Plus, they’re typically gluten-free, which makes them accessible to more people.
Benefits Of Protein Cheesecake Cups
Creating our own protein cheesecake cups comes with a multitude of benefits:
- High in Protein: Each cup can be packed with protein, which helps in muscle recovery and keeps us feeling full longer.
- Low in Sugar: By using natural sweeteners, we can control the sugar content, making them a healthier option compared to regular cheesecakes.
- Gluten-Free: Using gluten-free crust alternatives, these cups cater to those with gluten sensitivities.
- Customizable: We can easily switch up flavors and toppings, allowing for endless variations.
- Convenient: These individual servings are perfect for meal prep, making it easy to grab a quick, nutritious snack on the go.
Key Ingredients Needed
To make our protein cheesecake cups, we’ll need a few essential ingredients:
- Cream Cheese: Opt for low-fat or full-fat based on your dietary needs.
- Greek Yogurt: This adds creaminess and a boost of protein.
- Protein Powder: We can choose whey, casein, or plant-based protein to fit our preference.
- Sweetener: Stevia, honey, or maple syrup work well to add sweetness without excess calories.
- Vanilla Extract: A splash of vanilla enhances the flavor profile.
- Nut or Gluten-Free Crust: This could be almond flour or gluten-free graham cracker crumbs. If we prefer a no-crust option, we can skip this altogether.
Step-By-Step Instructions
Now that we have our ingredients, let’s jump into the preparation. Here’s how to make our protein cheesecake cups:
Step 1: Prepare the Crust (Optional)
- If you’re adding a crust, mix together 1 cup of gluten-free graham cracker crumbs (or almond flour) with 2 tablespoons of melted coconut oil and 2 tablespoons of sweetener.
- Press the mixture into the bottom of muffin liners in a muffin tin. Set aside.
Step 2: Make the Cheesecake Mixture
- In a large mixing bowl, combine 8 ounces of softened cream cheese, 1 cup of Greek yogurt, 1 cup of protein powder, 1/2 cup of sweetener, and 1 teaspoon of vanilla extract.
- Using an electric mixer, beat the ingredients until smooth and creamy, ensuring there are no lumps.
Step 3: Assemble the Cups
- Spoon the cheesecake mixture into the prepared muffin cups on top of the crust (if using).
- Fill each cup to about 3/4 full, as the mixture will rise slightly during baking.
Step 4: Bake
- Preheat your oven to 325°F (163°C).
- Bake the cheesecake cups for about 15-18 minutes, or until set but still slightly jiggly in the center.
- Turn off the oven and crack the door open, allowing the cheesecake cups to cool gradually to prevent cracking.
Step 5: Chill
- Once cooled, transfer the cups to the refrigerator and let them chill for at least 2 hours before serving.
Tips For Perfect Protein Cheesecake Cups
To ensure our protein cheesecake cups turn out perfectly every time, consider these tips:
- Room Temperature Ingredients: Make sure your cream cheese is at room temperature for easier blending and a smoother texture.
- Don’t Overmix: Overmixing can incorporate too much air, leading to cracks. Mix just until combined.
- Monitor Baking Time: Ovens vary, so keep an eye on the cups while they bake. The edges should be set while the center is slightly jiggly.
- Cool Gradually: This helps to minimize cracking. Avoid rapid temperature changes.
Variations And Flavor Options
Our protein cheesecake cups are incredibly versatile. Here are a few delicious variations we can try:
- Chocolate Protein Cheesecake Cups: Add 1/4 cup of cocoa powder to the cheesecake mixture for a rich chocolate flavor.
- Fruit Swirl: Mix in pureed fruit like strawberries or blueberries, or layer them on top before serving.
- Pumpkin Spice: In the autumn, we can add pumpkin puree and pumpkin spice for a seasonal treat.
- Lemon Zest: A little lemon zest brightens up the flavor, perfect for a refreshing dessert.
Feel free to experiment with different flavorings and toppings, get creative with nut butters, granola, or fresh berries.
Storing And Serving Suggestions
Storing our protein cheesecake cups correctly helps to maintain their freshness:
- Storage: Keep the cheesecake cups in an airtight container in the refrigerator for up to 5 days.
- Serving: These cups are fantastic served chilled. We can also top them with fresh fruit, a dollop of whipped cream, or a drizzle of sugar-free chocolate sauce for added flair.
- Freezing: If we want to make a larger batch, these cups freeze well too. Just wrap individual cups tightly in plastic wrap before placing them in an airtight container.
Conclusion
Making protein cheesecake cups is an enjoyable and satisfying way to enjoy a classic dessert while sticking to our health goals. With benefits like being high in protein, low in sugar, and gluten-free, these treats are perfect for any occasion, be it a post-workout snack, a party dessert, or simply a guilt-free indulgence. We encourage you to experiment with flavors and make this recipe yours. Happy baking.