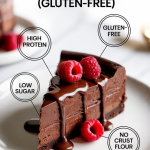
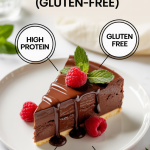
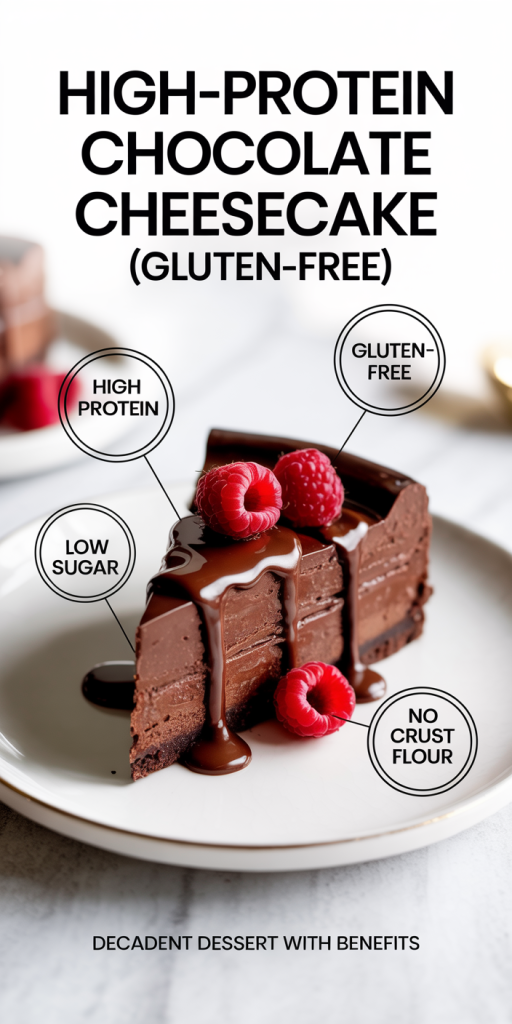
How To Make High-Protein Chocolate Cheesecake
Cheesecake lovers, rejoice. We’re diving into a delightful and guilt-free dessert: high-protein chocolate cheesecake. Whether you’re looking to indulge your sweet tooth while sticking to your fitness goals or simply searching for a healthier option, this recipe is the perfect blend of rich chocolatey goodness and nutritional power. Let’s make this cheesecake a staple in our dessert repertoire.
Understanding High-Protein Ingredients
To construct our high-protein chocolate cheesecake, we must first understand the ingredients that will boost its protein content without compromising flavor or texture. Here’s how we can select the best ingredients:
Choosing the Right Protein Source
Selecting a protein source is crucial in achieving our cheesecake’s nutritional profile. Here are a few excellent options:
- Cottage Cheese: This soft, creamy cheese is versatile and can add both protein and a subtle tang to the cheesecake.
- Greek Yogurt: Rich in protein and low in fat, Greek yogurt can enhance the creaminess of our cake.
- Protein Powder: A great way to boost protein content, but it’s important to choose a flavor that complements the chocolate, such as chocolate or vanilla flavored.
Low-Fat Dairy Options
Choosing low-fat dairy options can help us manage calories while ensuring a creamy texture. We can use:
- Low-Fat Cream Cheese: This will maintain the cheesecake’s rich flavor while cutting down on excess fats.
- Low-Fat Sour Cream: Adds a delightful tang while keeping the dish light.
Benefits of Using Greek Yogurt
Incorporating Greek yogurt into our cheesecake not only enhances protein content but also adds probiotics, which can aid digestion. This ingredient helps create a smooth and creamy texture, making our cheesecake feel indulgent without the guilt.
The Role of Protein Powders
Protein powders can be a game-changer in our cheesecake. When we select a high-quality whey or casein protein, we can add an extra punch of protein without affecting the overall taste. Just remember to avoid over-mixing to ensure our cheesecake remains airy and light.
Essential Tools and Equipment
Before we begin our cheesecake journey, let’s gather the essential tools and equipment. Having everything on hand will streamline our cooking process:
- Mixing Bowls: Having a variety of sizes is helpful for different steps.
- Electric Mixer: Alternatively, a hand whisk will suffice, but an electric mixer makes the process easier.
- Springform Pan: This is key for easy removal and presentation of our cheesecake.
- Spatula: For mixing and scraping down the sides of the bowl.
- Measuring Cups and Spoons: Precise measurements are crucial for baking.
- Oven Thermometer: Ensuring accurate temperature is key to successful baking.
With our tools ready, we are set for a seamless baking experience.
Ingredients for Your Chocolate Cheesecake
Now that we’ve covered the essentials, let’s jump into the ingredients we need for our high-protein chocolate cheesecake:
- For the Crust:
- 1 ½ cups of almond flour or whole-grain crumbles
- 2 tablespoons of melted coconut oil or unsalted butter
- 1 tablespoon of honey or agave syrup (optional)
- For the Cheesecake Filling:
- 16 oz low-fat cream cheese, softened
- 1 cup Greek yogurt
- ¾ cup sweetener of your choice (like stevia or monk fruit)
- ½ cup cocoa powder
- 2 teaspoons vanilla extract
- 3 eggs
- 1 cup of chocolate protein powder
- For Topping (optional):
- Fresh berries
- Grated dark chocolate
- A dollop of whipped cream made from coconut cream or light cool whip
These ingredients come together to create a creamy, chocolatey treat that we won’t feel guilty about indulging in.
Step-by-Step Preparation Process
Let’s roll up our sleeves and get to the fun part: making our high-protein chocolate cheesecake.
Prepping the Crust
- Preheat the Oven: Start by preheating our oven to 350°F (175°C).
- Mix the Ingredients: In a bowl, combine almond flour with melted coconut oil and honey (if using). Mix until it resembles wet sand.
- Form the Crust: Press the mixture firmly into the bottom of a greased springform pan. Bake for about 10–12 minutes or until lightly golden. Allow it to cool.
Making the Chocolate Cheesecake Filling
- Combine Ingredients: In a mixing bowl, beat the softened cream cheese until smooth. Add Greek yogurt and continue mixing until well blended.
- Incorporate Dry Ingredients: Gradually add cocoa powder, protein powder, and sweetener to the cream cheese mixture. Mix until fully combined.
- Add Eggs: One by one, add the eggs, mixing well after each addition. Finally, stir in the vanilla extract.
Baking and Cooling the Cheesecake
- Prepare for Baking: Pour the cheesecake filling onto the cooled crust, smoothing the top with a spatula.
- Bake: Place in the oven and bake for about 45 minutes, or until the edges are set but the center still slightly jiggles.
- Cool Down: Turn off the oven and let the cheesecake cool with the door ajar for an additional hour. This helps prevent cracking.
- Chill: Once cooled, refrigerate for at least four hours or overnight for best results.
Serving and Presentation Tips
Now that our cheesecake is perfectly set, it’s time to present and serve it.
- Remove from Pan: Carefully release the springform pan to reveal our masterpiece.
- Slice with Warm Knife: For clean slices, dip a knife in warm water and wipe it dry before slicing the cheesecake.
- Garnish Creatively: Add fresh berries, a sprinkle of grated dark chocolate, or a dollop of whipped cream. Serving it on a decorative plate adds a nice touch.
- Pair with Beverages: For an extra special touch, serve with a cup of coffee, tea, or a protein shake for a delightful contrast.
Storing Your Cheesecake
To elevate the practicality of our delicious cheesecake, let’s discuss how to store leftovers:
- Refrigerate: Store any leftover cheesecake in an airtight container in the refrigerator for up to five days.
- Freeze for Later: If we want to extend its life, we can freeze individual slices wrapped in plastic wrap and then placed in a freezer-safe container. It will keep for up to three months.
- Thawing: When we’re ready to enjoy a slice, simply transfer it to the fridge for several hours or overnight to thaw gradually.
Nutritional Benefits of High-Protein Desserts
Opting for high-protein desserts doesn’t mean sacrificing taste. In fact, there are several nutritional benefits we can enjoy:
- Muscle Repair: Increased protein intake aids muscle recovery post-workout, making this cheesecake a great option for athletes.
- Weight Management: Higher protein content can lead to greater satiety, helping us manage our weight more effectively.
- Balanced Nutrition: Incorporating nutritious ingredients like Greek yogurt and reduced-fat dairy offers added vitamins and minerals, contributing to our overall health.
- Satisfying Sweet Cravings: With a high-protein dessert, we can indulge our sweet tooth without overloading on sugars, making this cheesecake a healthier alternative.
Conclusion
Creating a high-protein chocolate cheesecake is not only a fulfilling culinary adventure but also a delicious way to incorporate nutritious ingredients into our diet. With just a few thoughtful ingredient choices, we can indulge without guilt. We hope you give this recipe a try and bring a touch of nutrition to your dessert table. Happy baking.